Environment Setup
This section will guide you through setting up your development environment, including Operating System setup, Visual Studio setup, IIS Web Server setup, SSL certificate setup, and SQL Server setup.
Operating System
The TAP SDK can be setup on the following Microsoft operating systems:
- Workstation
- Windows 7
- Windows 8
- Windows 10
- Server
- Windows Server 2012
- Windows Server 2016
This guide will use Windows Server 2016, which can be easily obtained from Microsoft in trial fashion and used for 180 days.
https://www.microsoft.com/en-us/evalcenter/evaluate-windows-server-2016
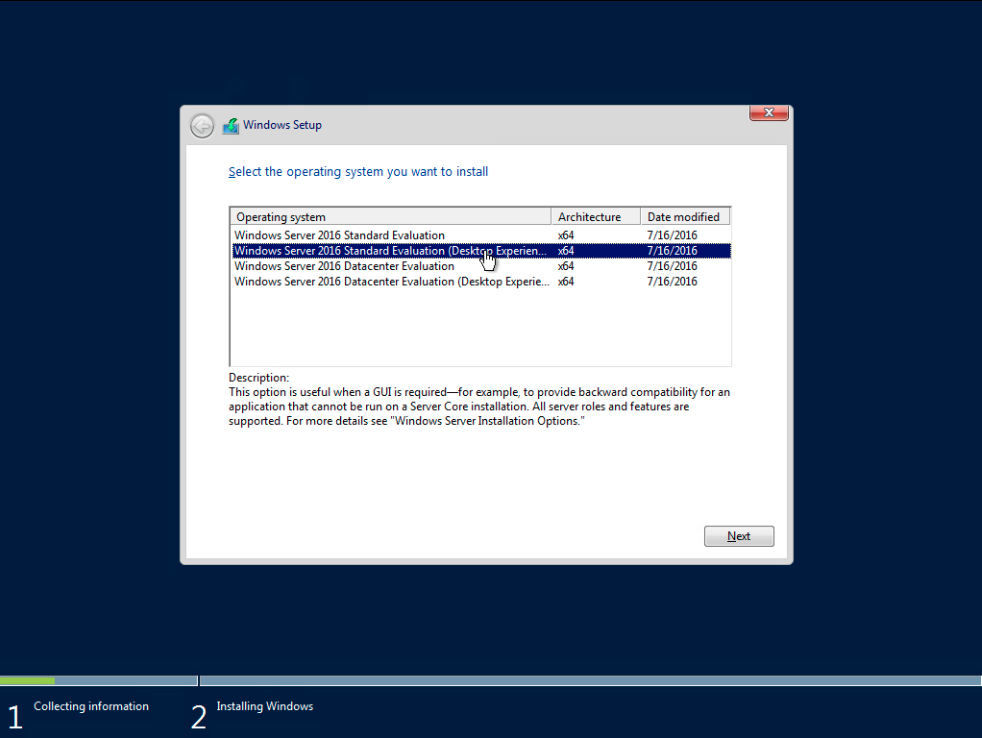
When installing the operating system, ensure the “Desktop experience” option is selected.
After installation, ensure you run Windows Update to ensure your system has all the latest patches from Microsoft.
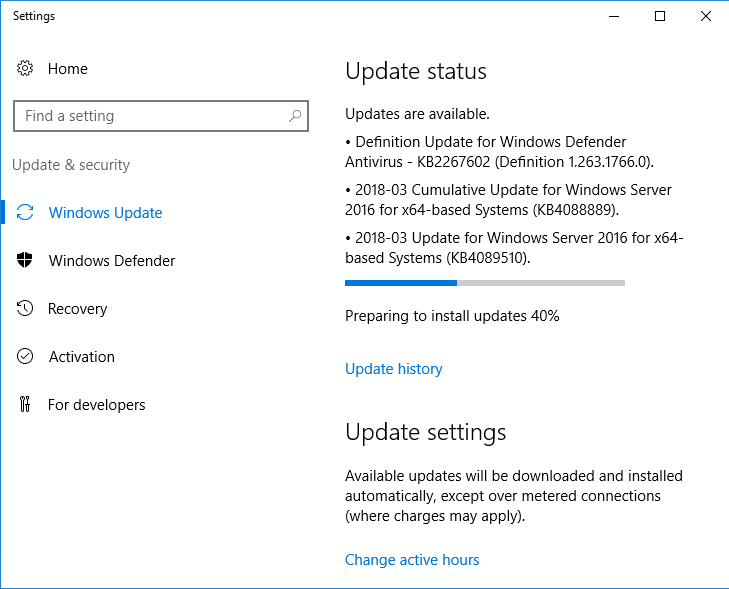
Once you have installed updates and rebooted the operating system, you’ll later need to use Internet Explorer to download several components from Microsoft.
The default security settings of the browser essentially won’t allow you to complete this task, so we will turn them off.
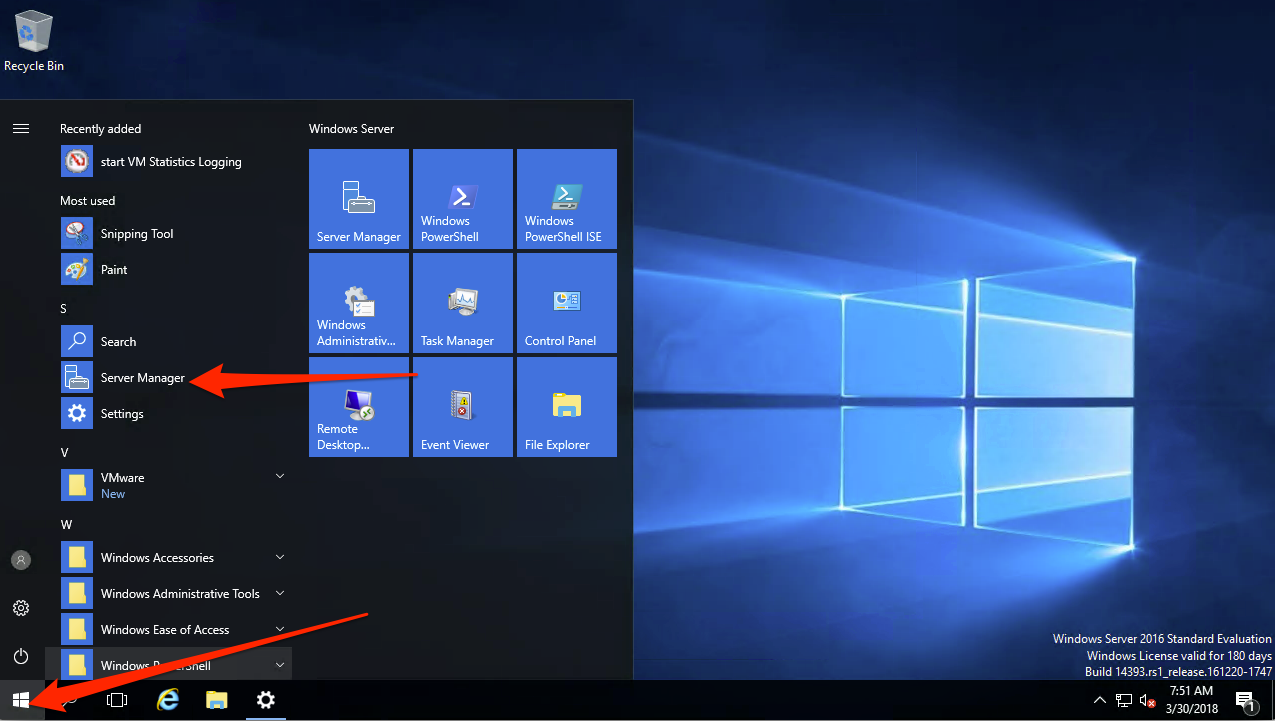
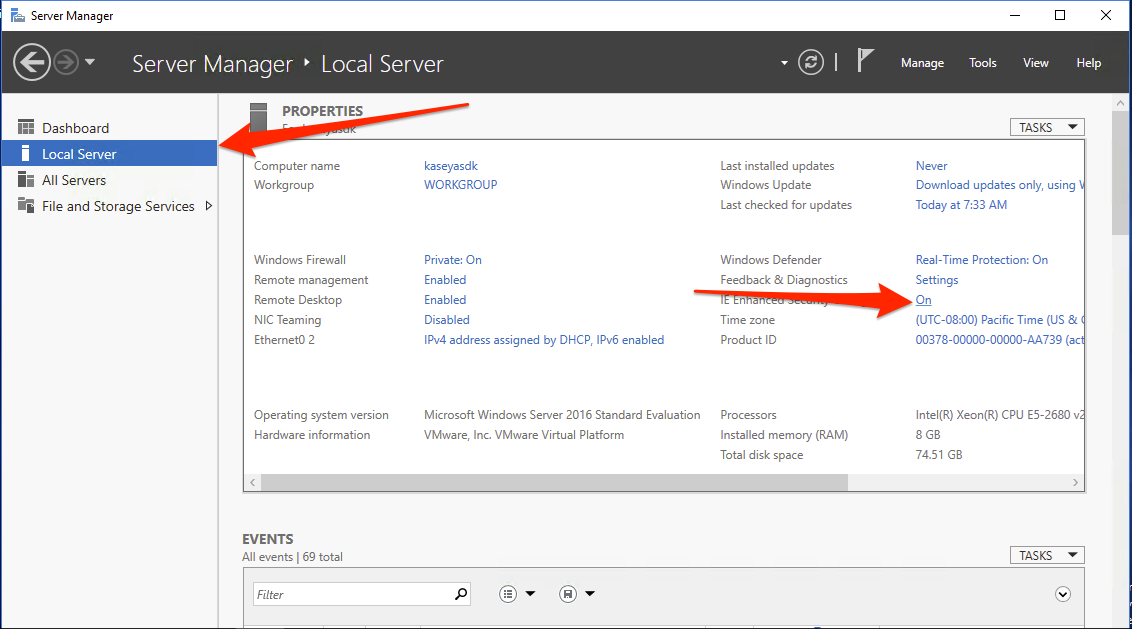
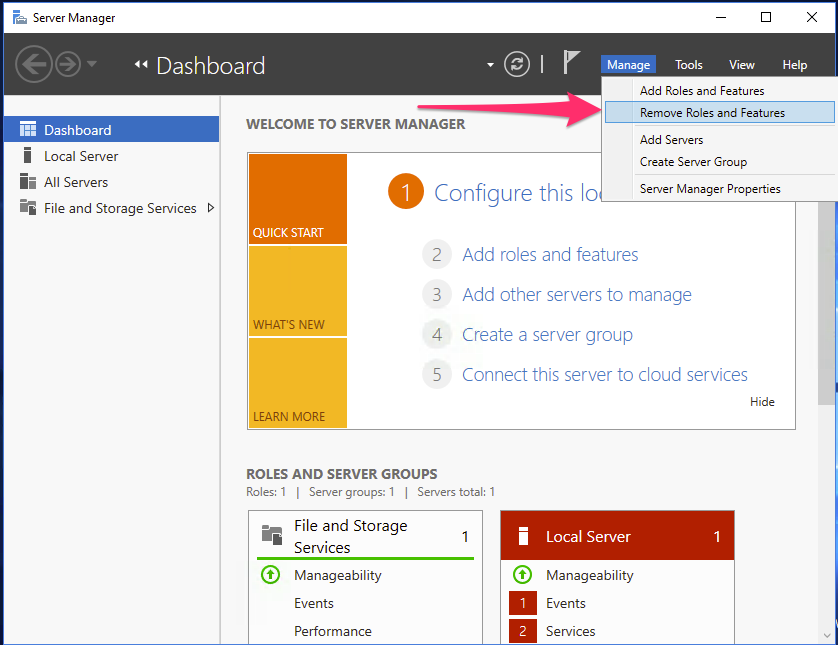
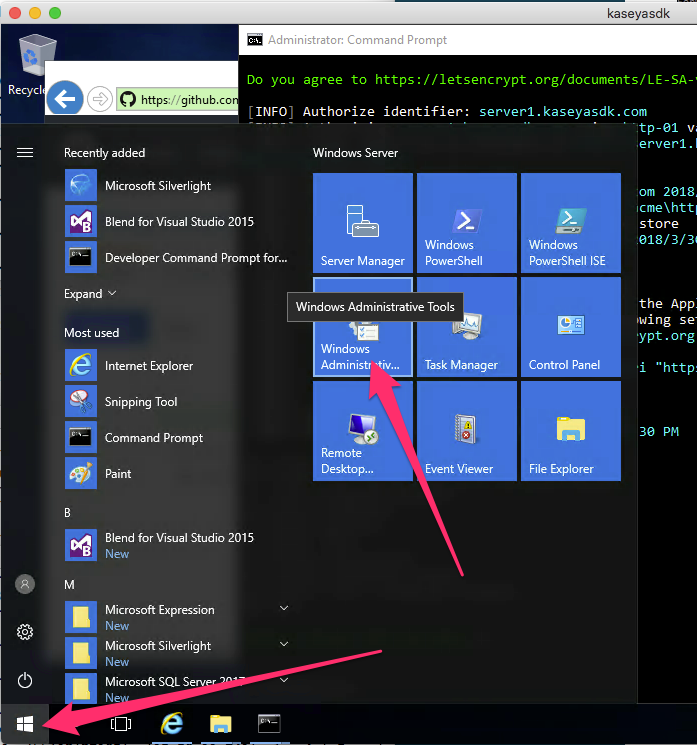
Run the Windows Server manager, select “Local Server”, and then disable “IE Enhanced Security Configuration”:

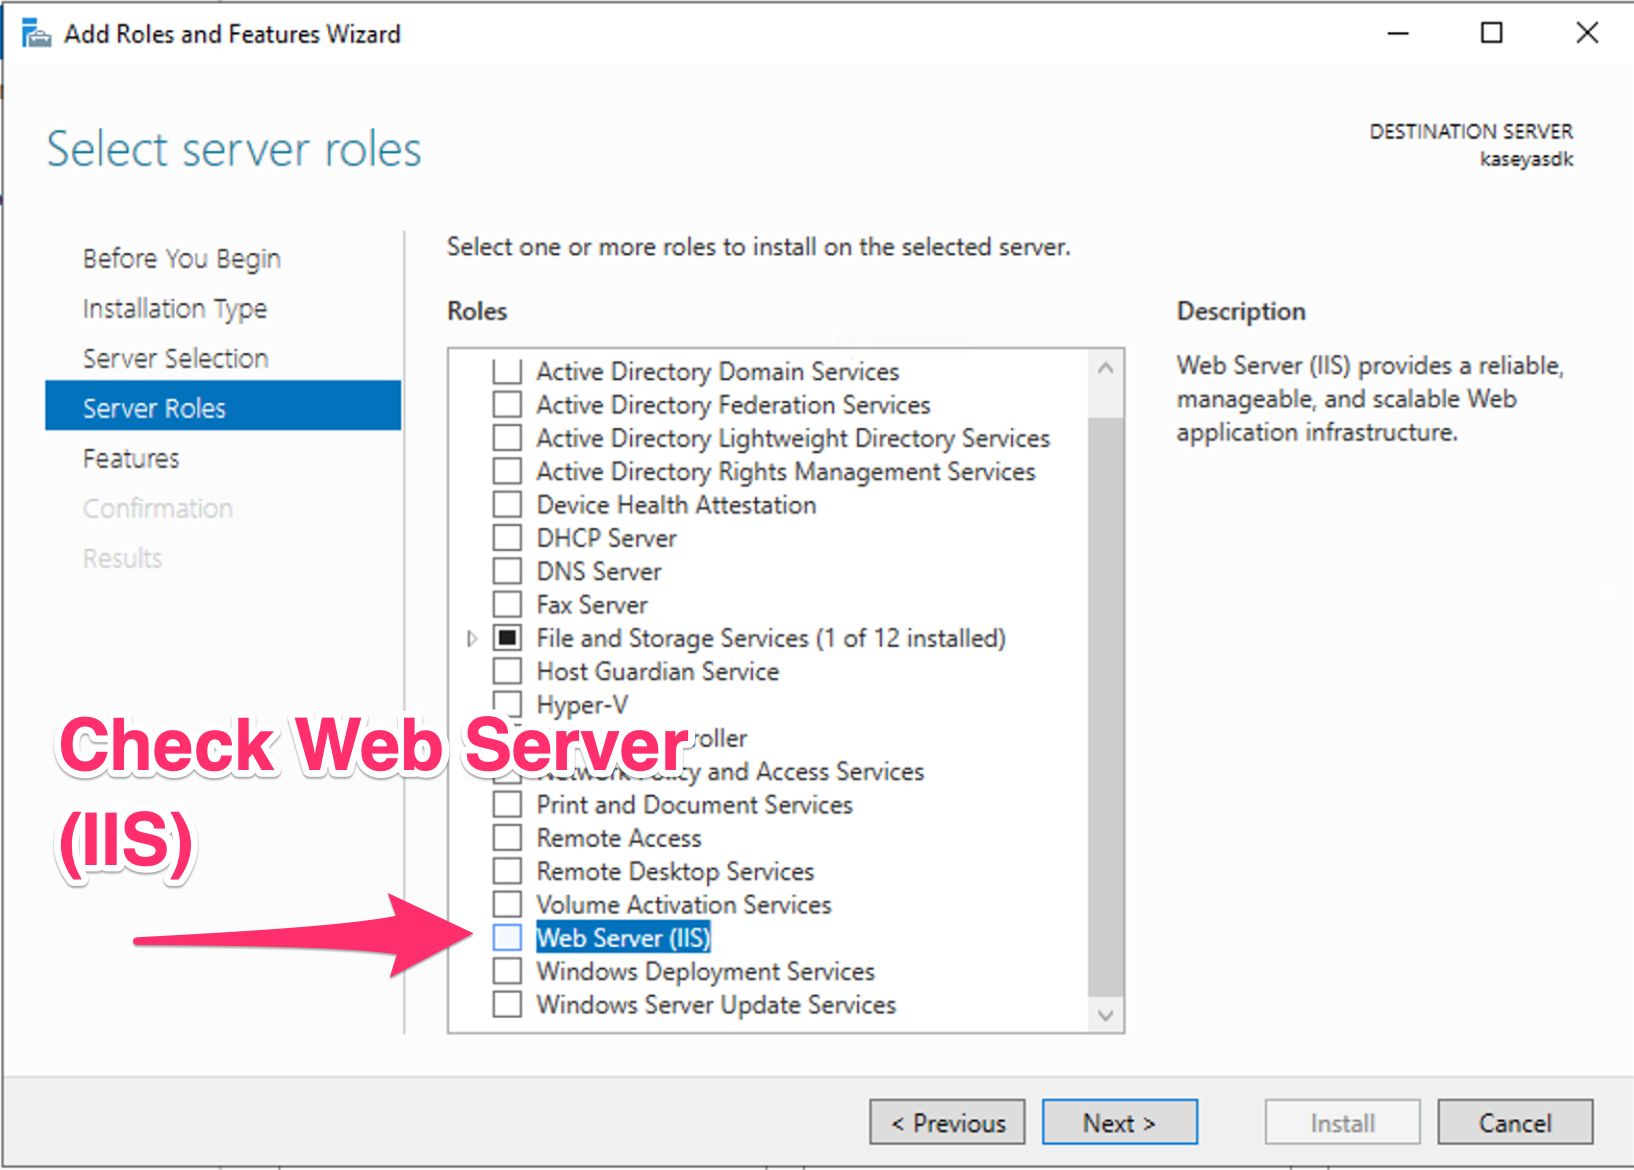
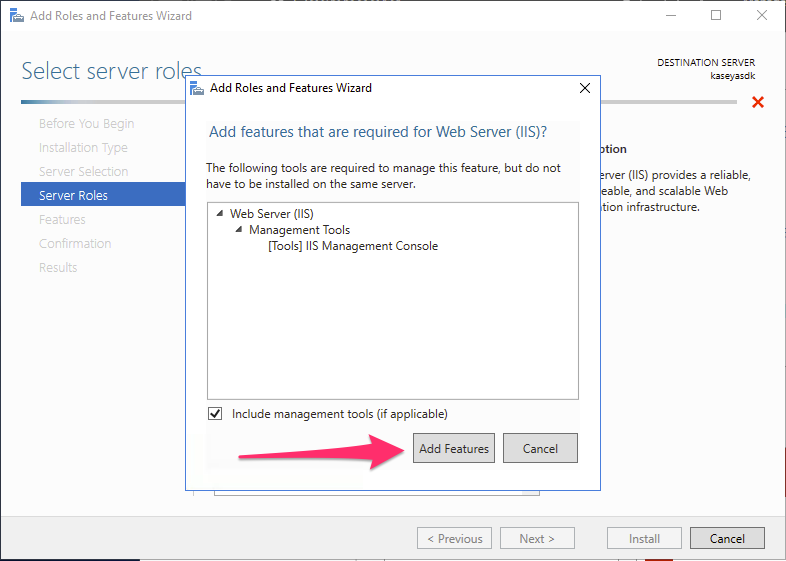
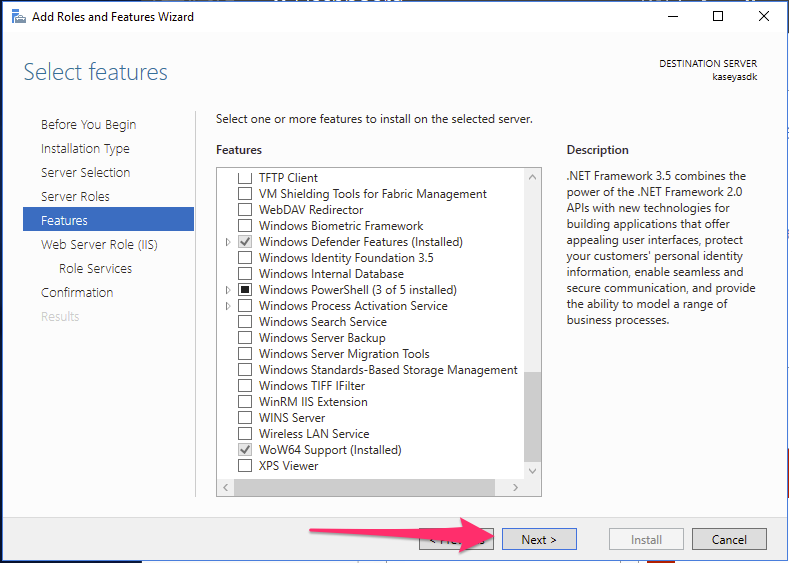
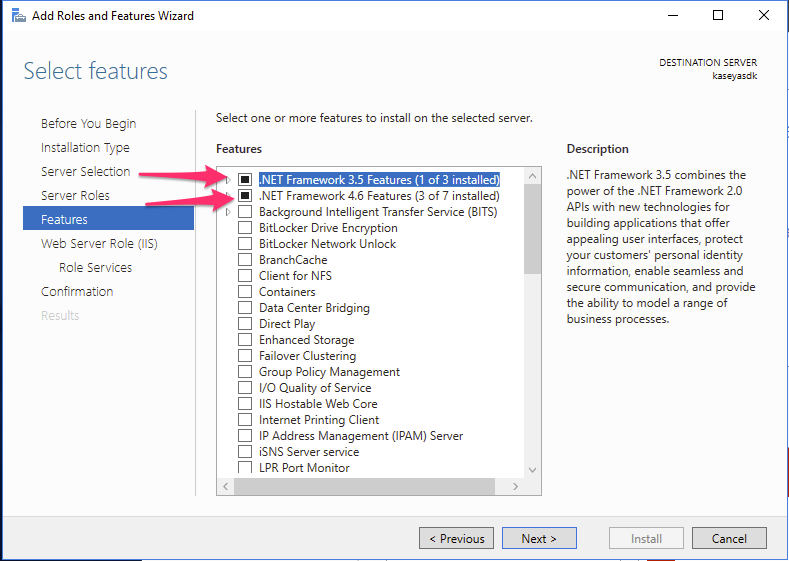
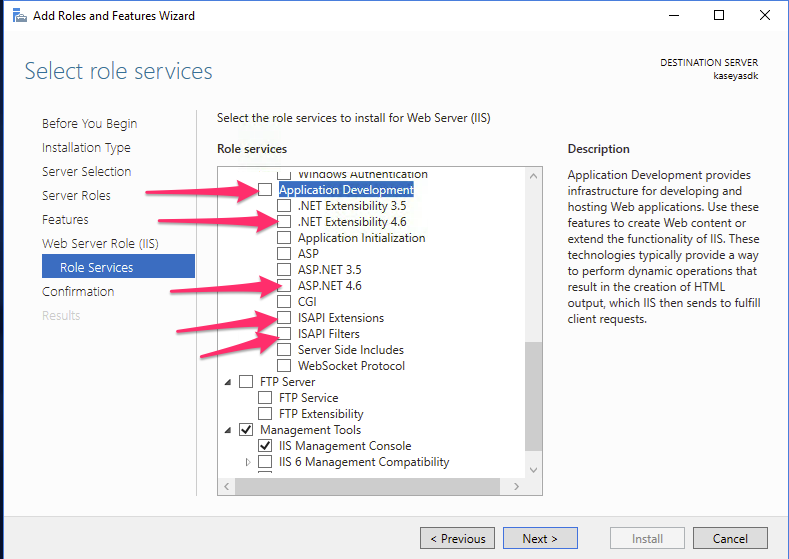
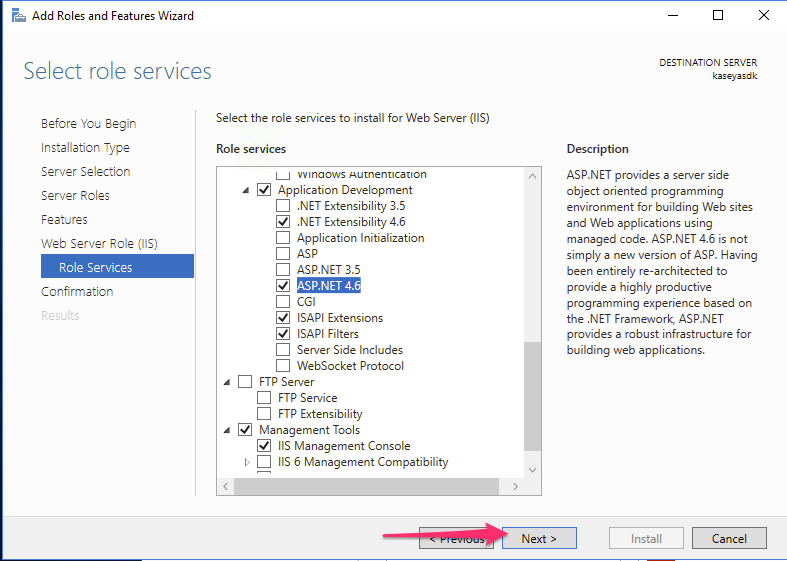
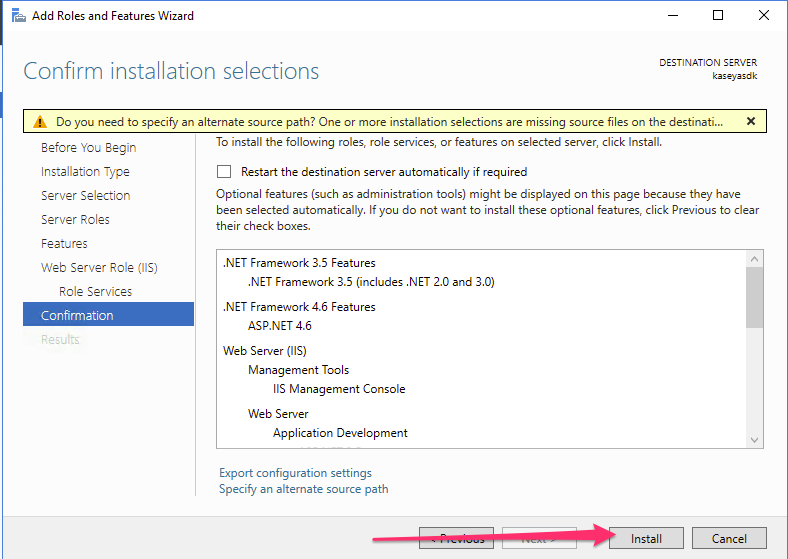
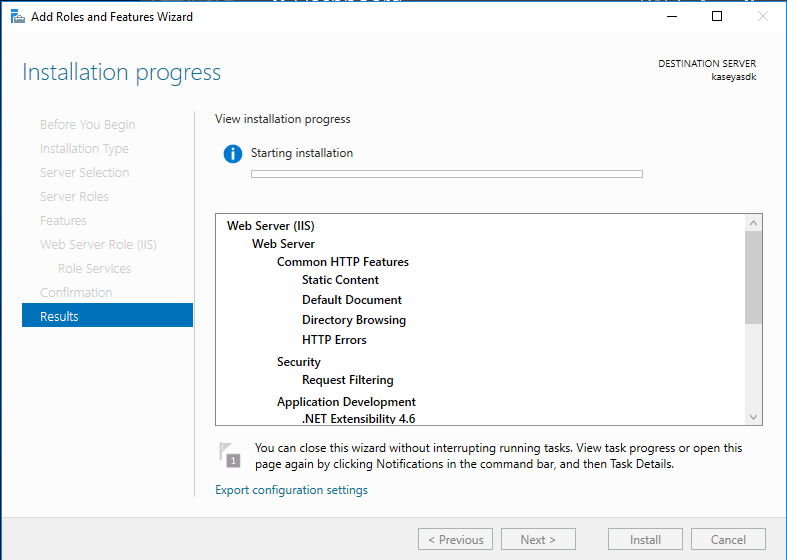
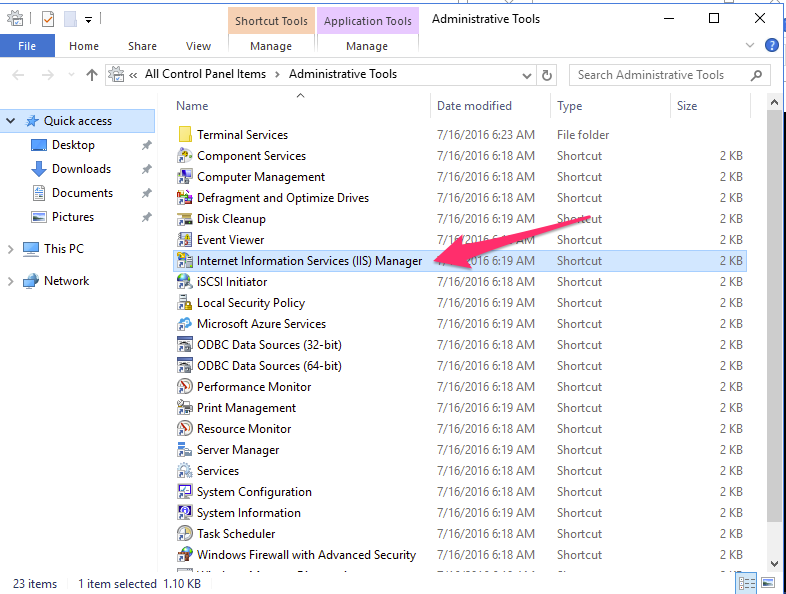
IIS Install
The Microsoft IIS Web Server is needed for the TAP SDK to serve it’s pages and APIs.
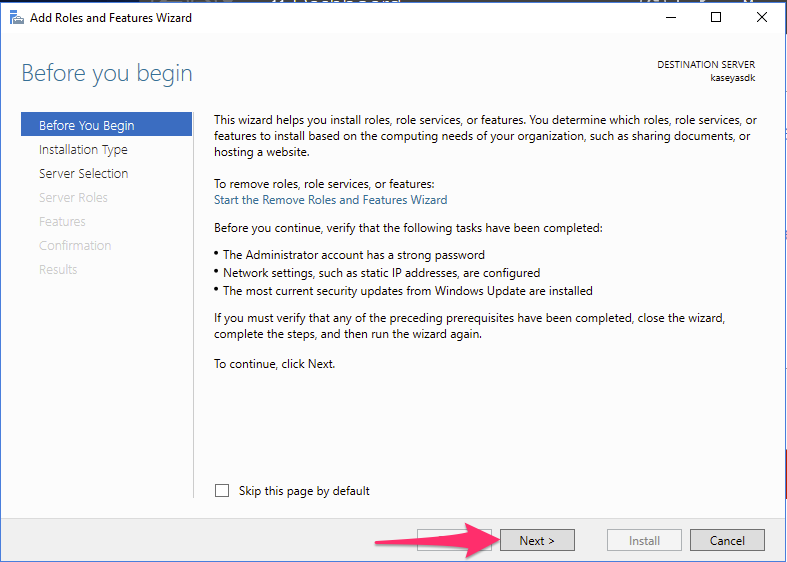
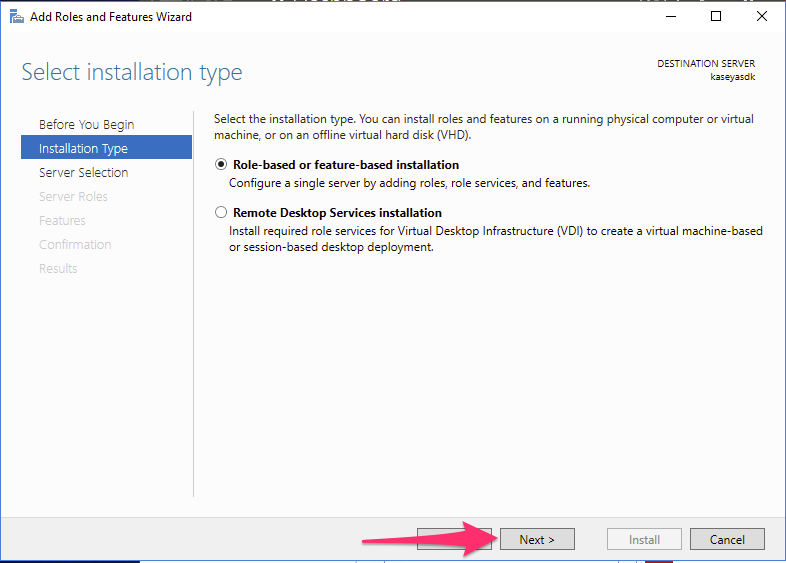
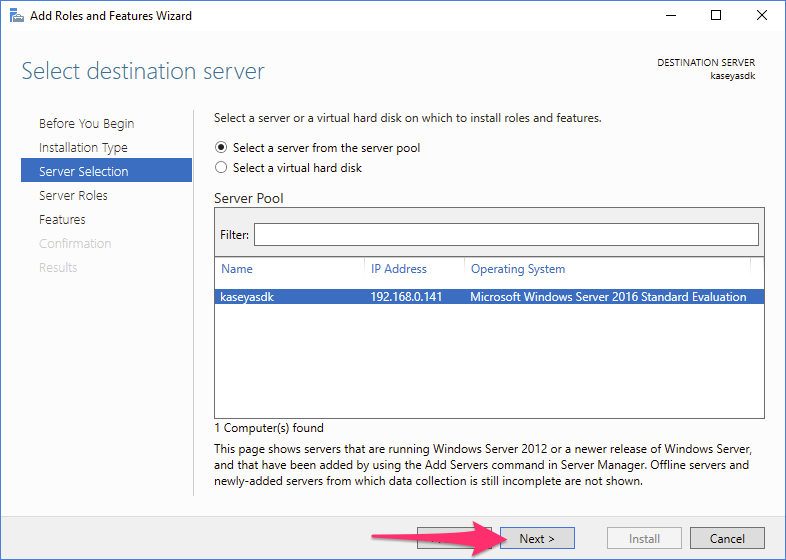
You will need to enable it upon completing the installation of Server 2016:
Load the Server Manager as you did in the previous step, and follow the screenshots below to deploy IIS and it’s feature requirements for the TAP SDK sample:

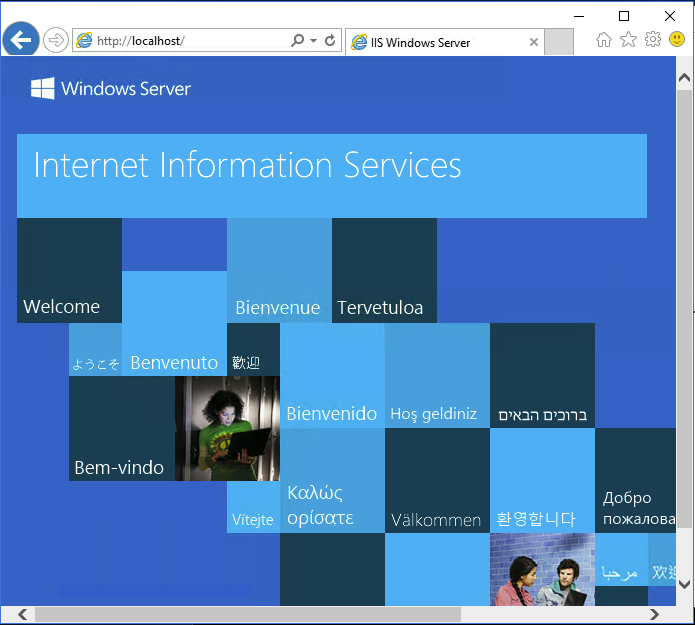
Finally, let’s load Internet Explorer, hit http://localhost/, and ensure our web server is working properly.
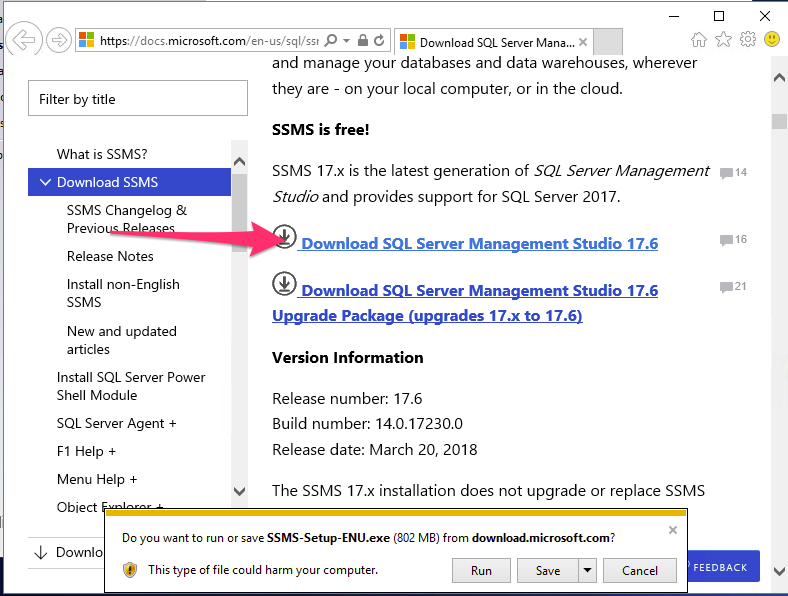
SQL Install
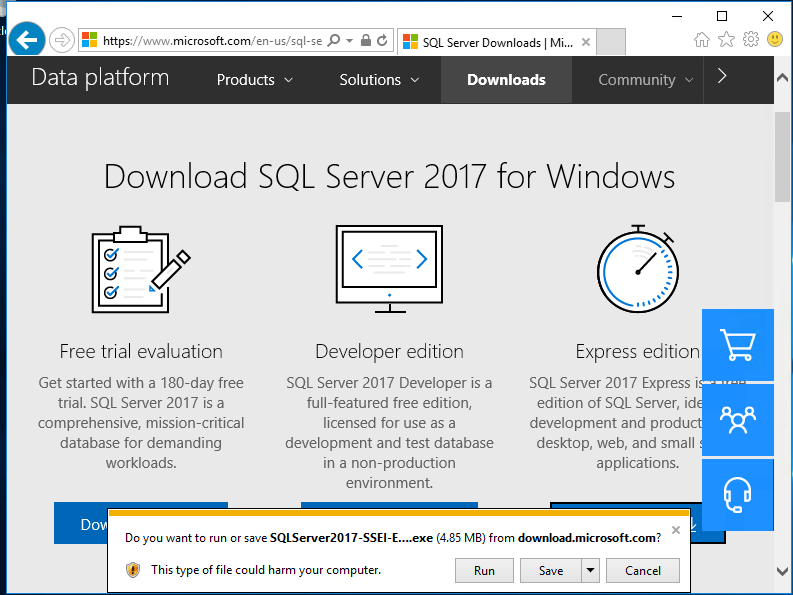
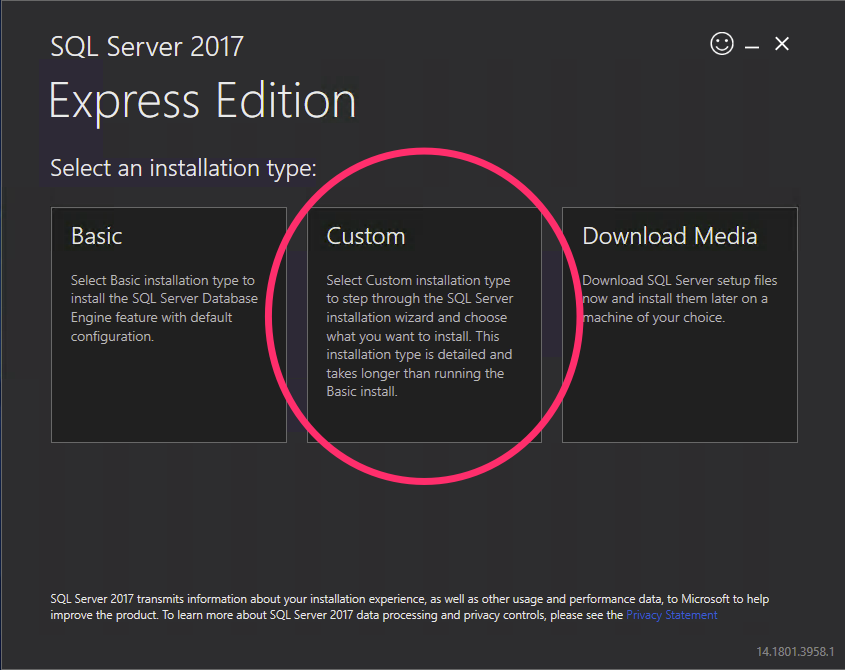
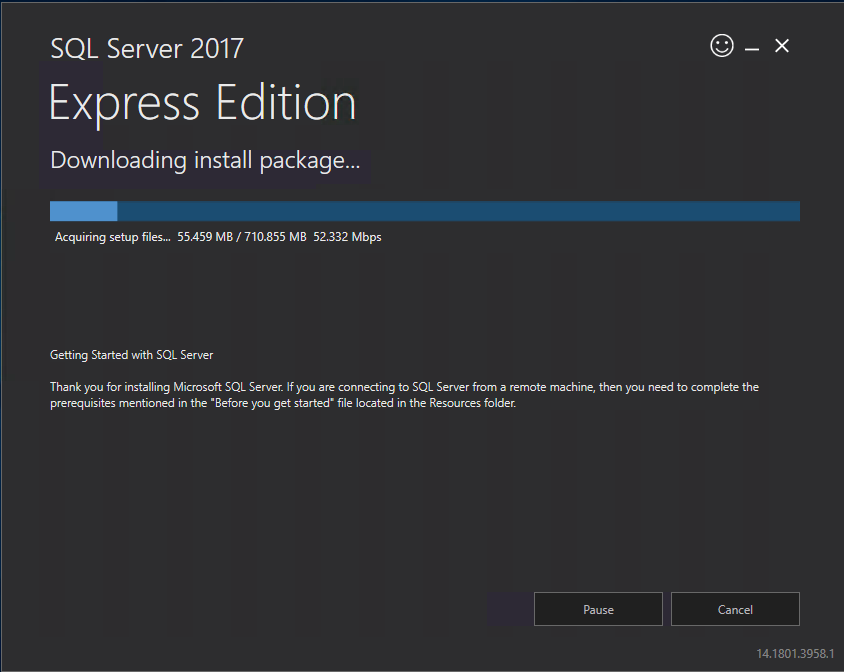
The TAP SDK will use Microsoft SQL for it’s local database. You can use SQL version 2012 of above, and this guide will use SQL 2017 Express.
https://www.microsoft.com/en-us/download/details.aspx?id=55994
Use the link for SQL Server 2017 Express Edition.
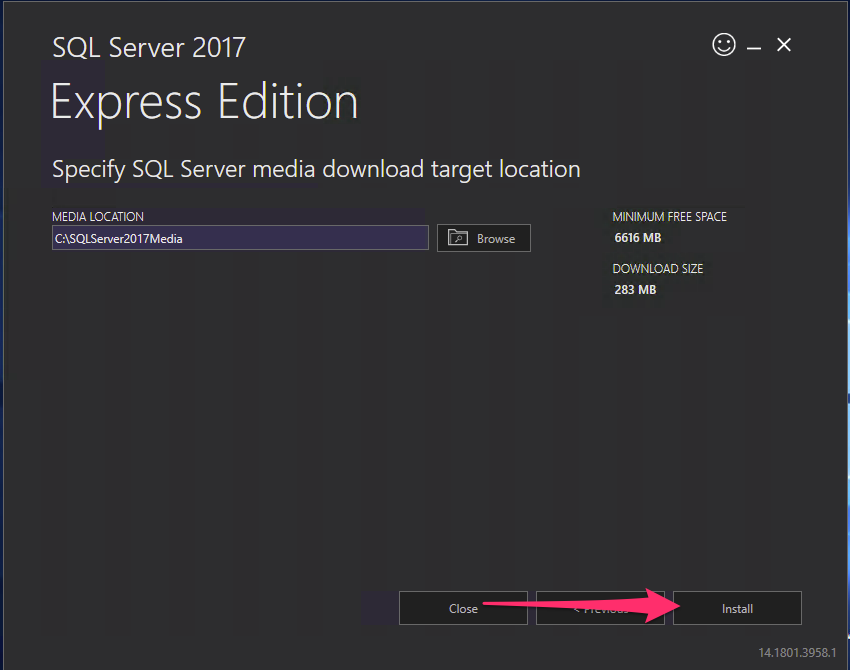
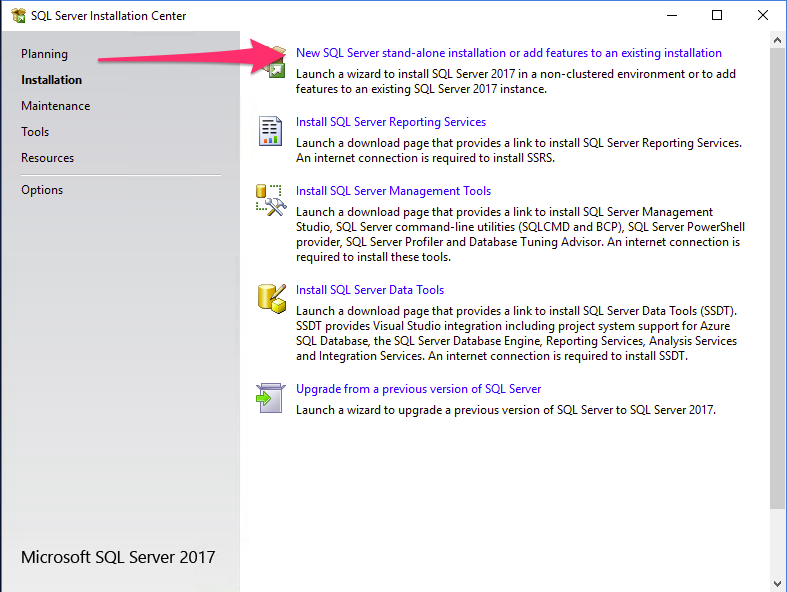
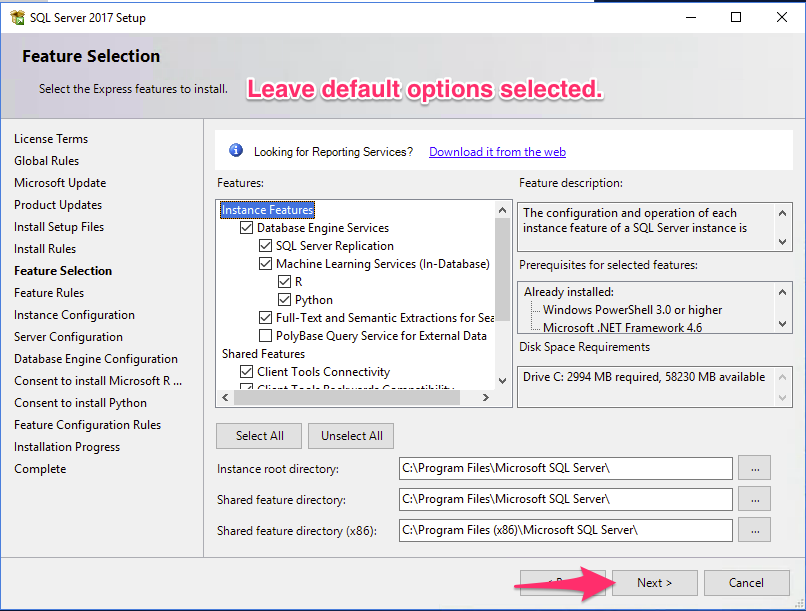
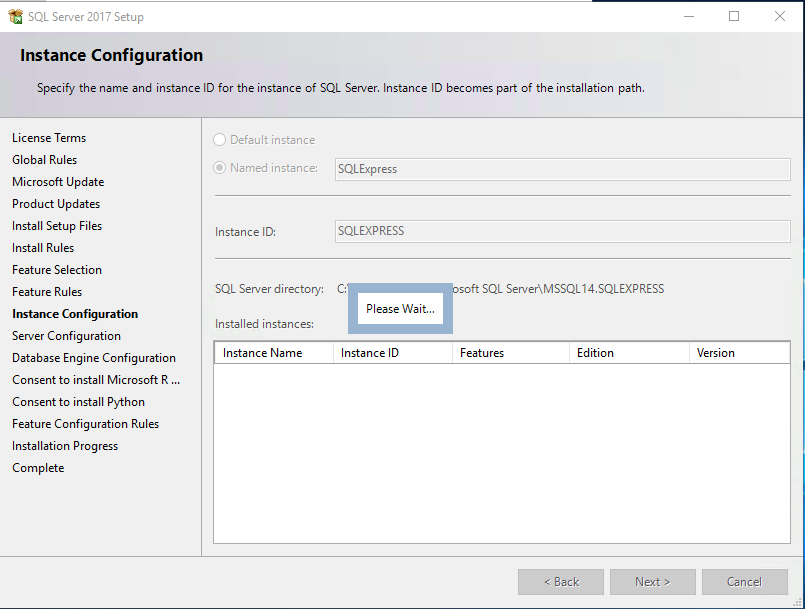
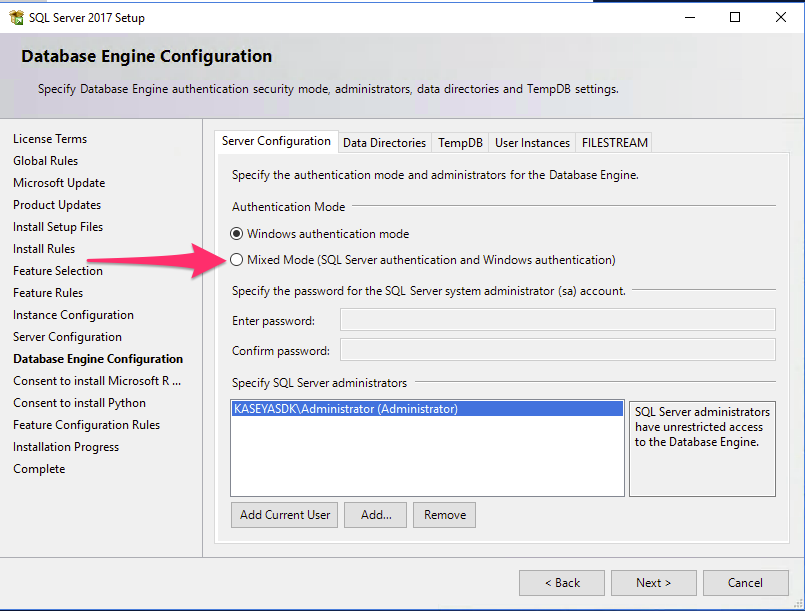
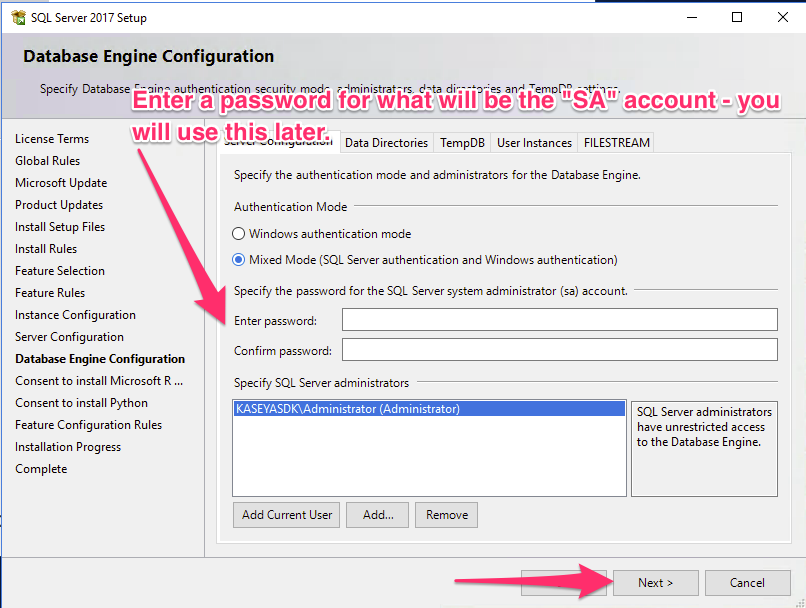
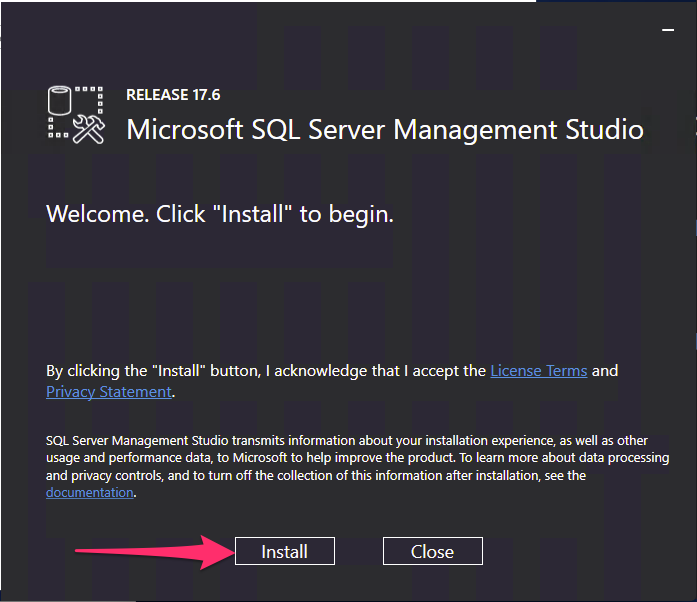
Select “New” here, after which point you’ll be presented with an installation walkthrough wizard. Select “Next” through the entire wizard, accepting the defaults for all the prompts UNTIL you get to “server configuration”.
Select Mixed Mode and use the password “Kaseya18!” or any string of your choosing (provided you don’t forget it).
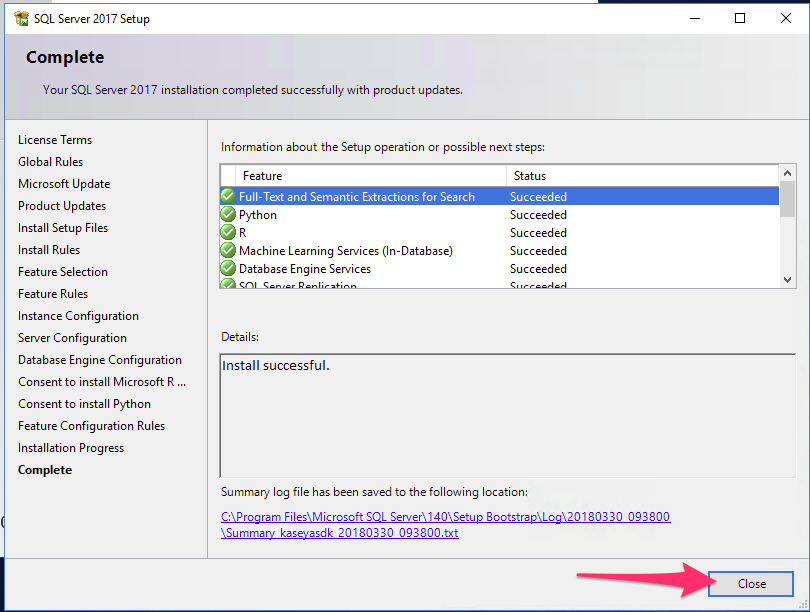
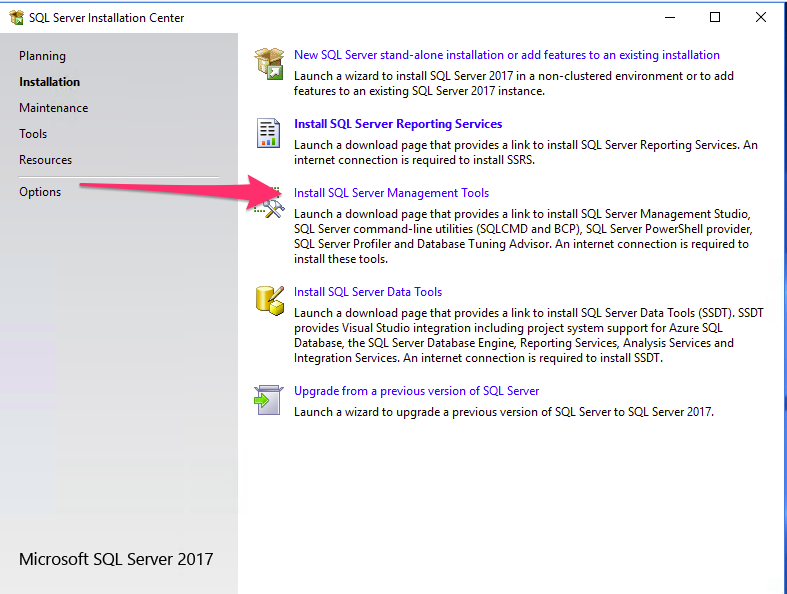
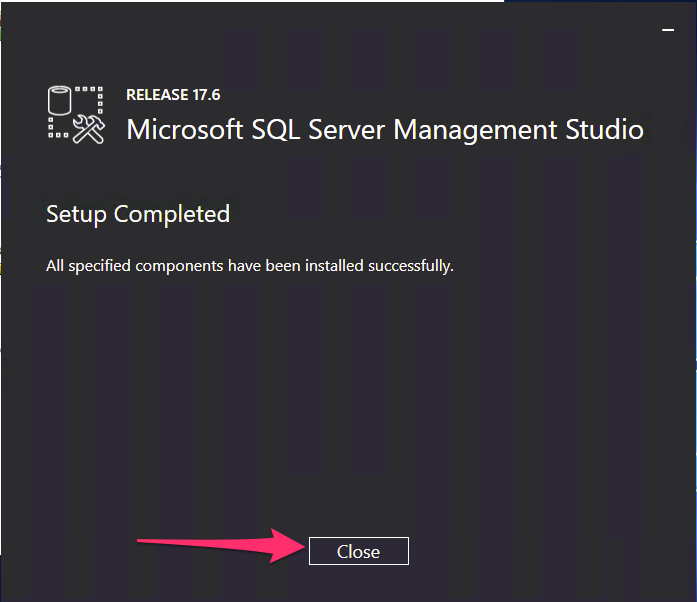
The SQL Management tools are incredibly useful to have - you’ll also want to install them. This will kick of a separate 800MB download to grab the required installer.
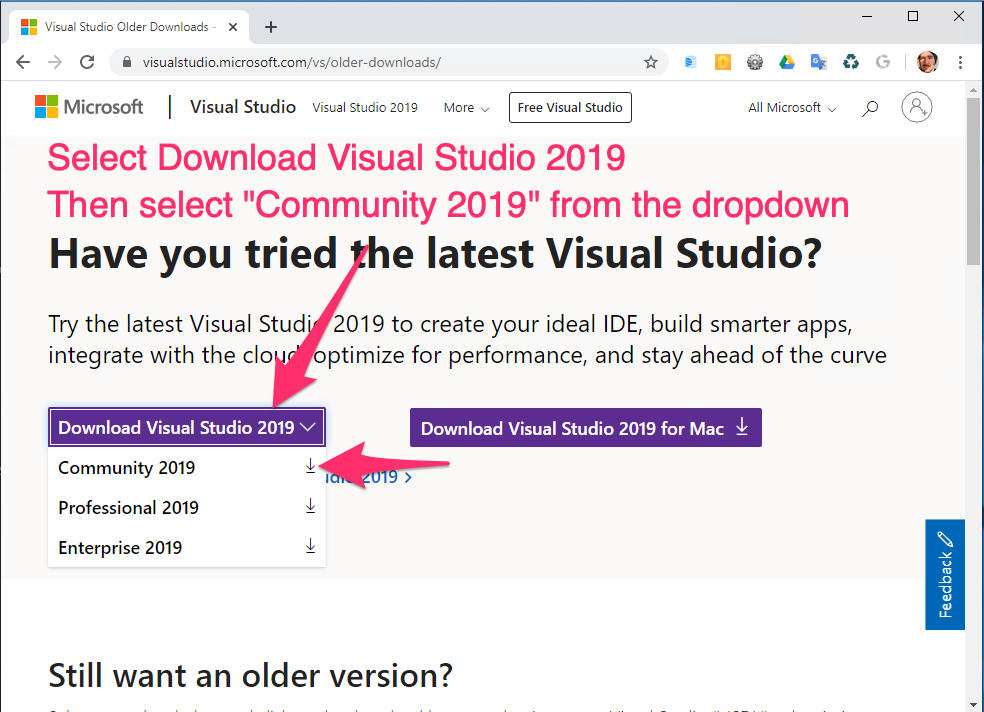
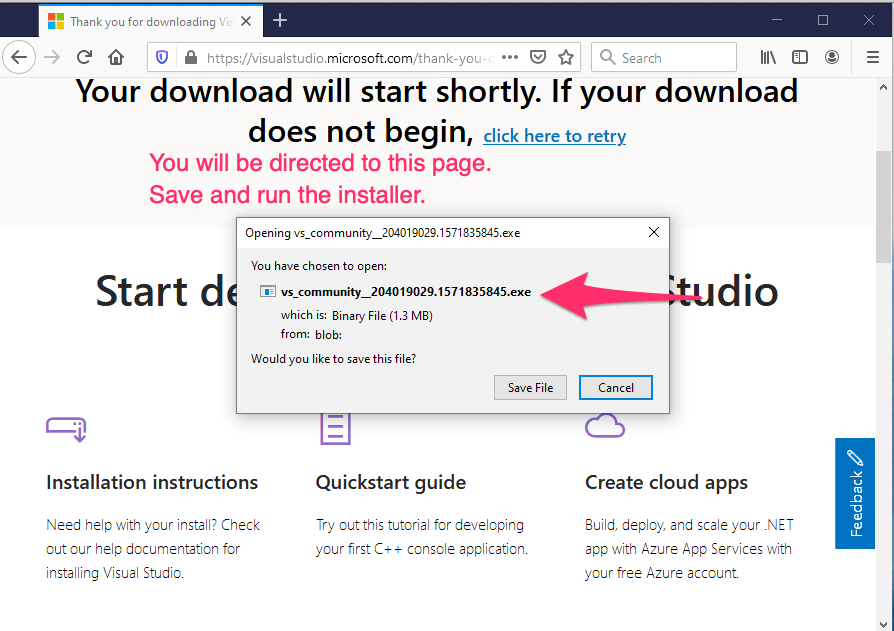
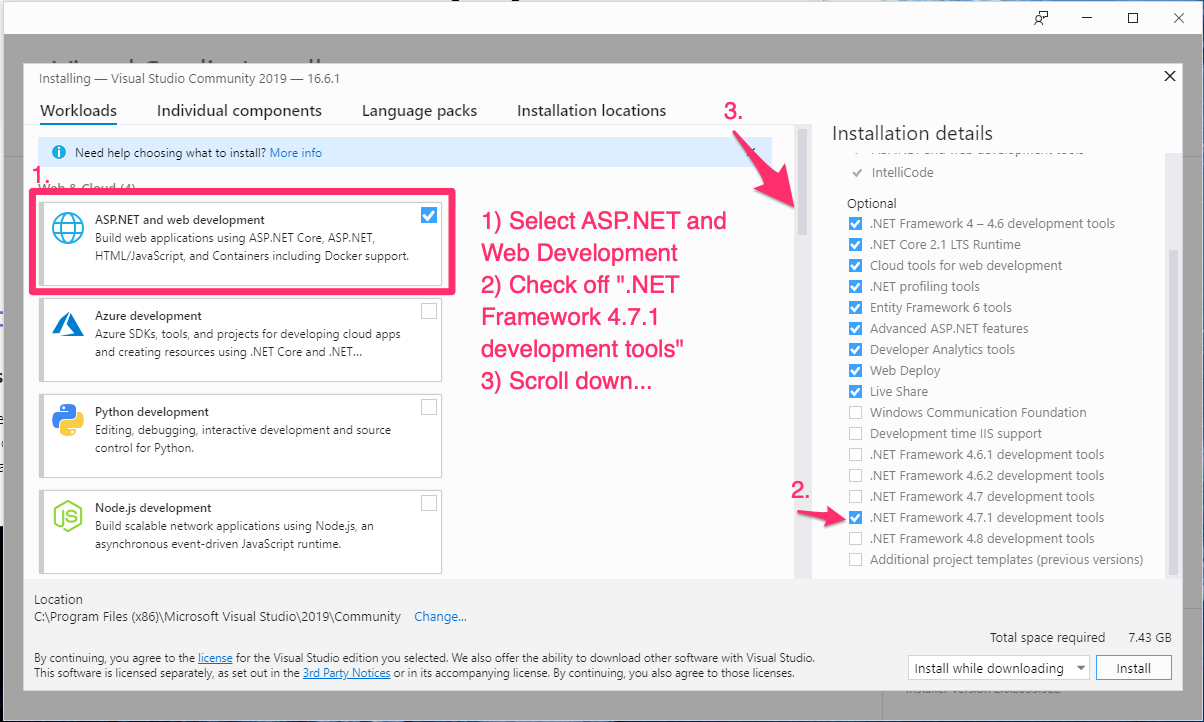
Visual Studio Install
The TAP SDK is built under Microsoft Visual Studio.
While several versions of Visual Studio may be used to build the application, the guide will require Visual Studio 2019.
The “Community” edition of Visual Studio 2019 is free to use.
Navigate to the download page here to begin your download.
https://www.visualstudio.com/vs/older-downloads/

IIS and SSL configuration
Overview
Now that our system is configured as a web and database server, we must now ensure it is available on the web complete with an SSL certificate from a trusted certificate authority (CA).
You first must have a domain name to use for your application. This can be a standalone domain “kaseyasdk.com” or a subdomain “sdk.kaseya.com”.
Every Kaseya server will need to be able to resolve and communicate back to the server your domain is configured to resolve to.
A SSL certificate, either standalone certificate or a wildcard, from a trusted CA is also required.
Communication will take place over ports 80 and 443, TCP.
You have several ways you can facilitate this communication requirement:
- Forwarding 80/443 TCP from your firewall directly to your server
- Placing your server in a DMZ (ensuring you enable Microsoft’s software firewall)
- Leveraging a tool which exposes your server’s web ports to the internet via TCP reverse-tunnel
In production, the first option is almost exclusively required.
For development and prototyping purposes however, this is usually the most difficult to accomplish. For the TAP SDK guide, we will be using option #3, using a tool called ngrok:
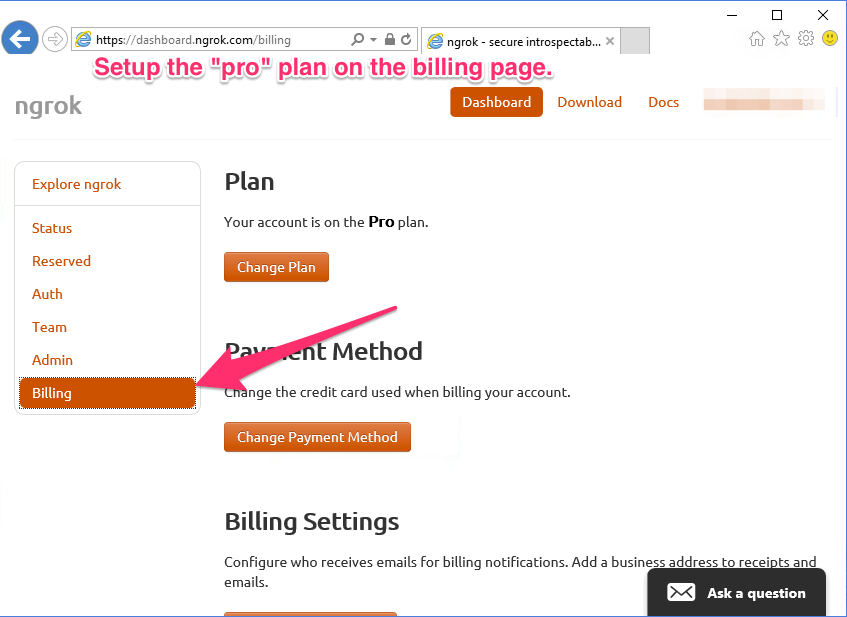
There are several pricing tiers for ngrok, but to use SSL connectivity, we need “Pro” option with the $8.95/month pricing tier.
SSL certificates can be obtained a number of ways, and depending on the trusted CA provider, usually range in price from $70 to $300+.
There is a way to get one for free, which we will use in this guide from letsencrypt.org:
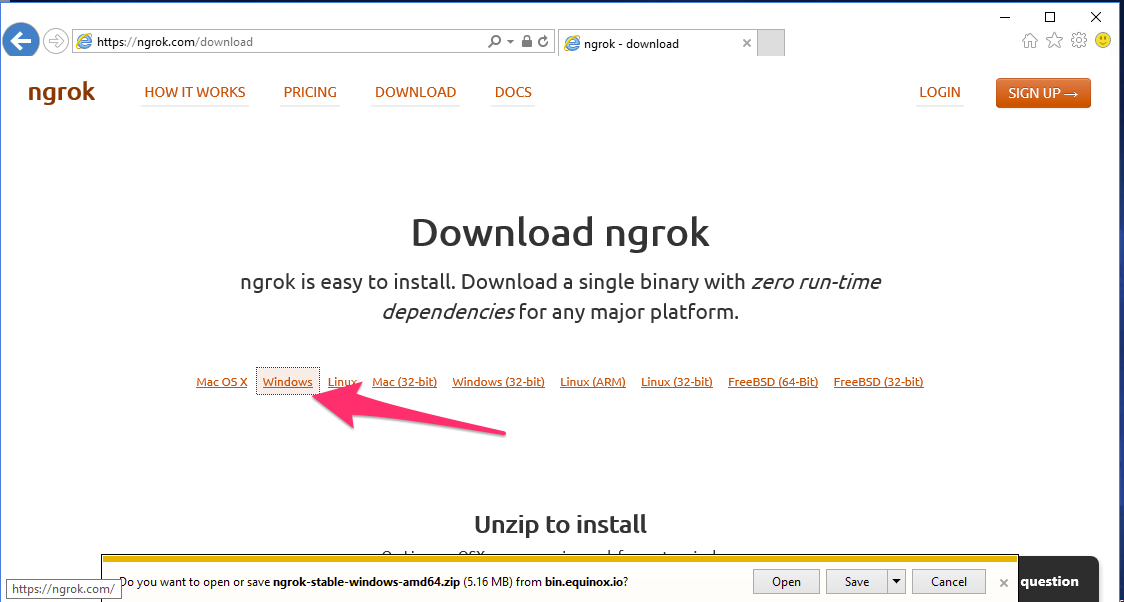
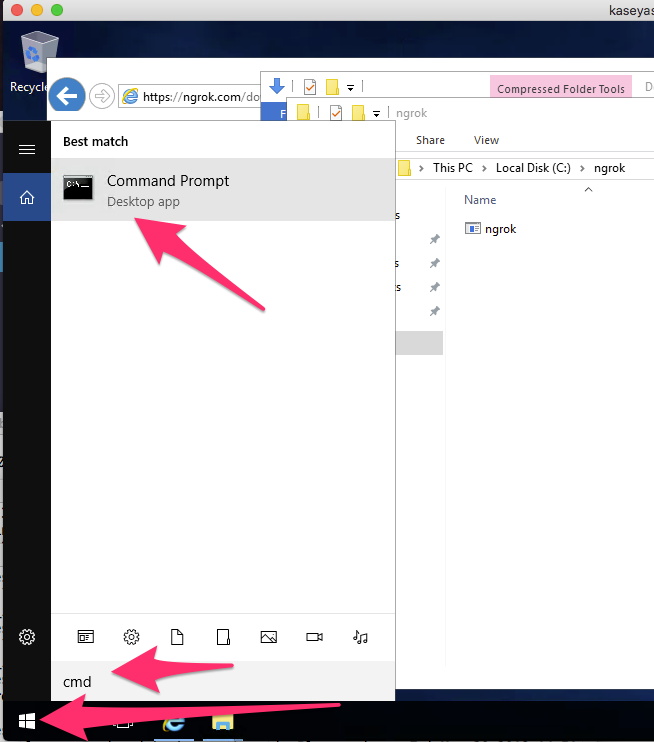
First, we start with the setup of ngrok.
ngrok
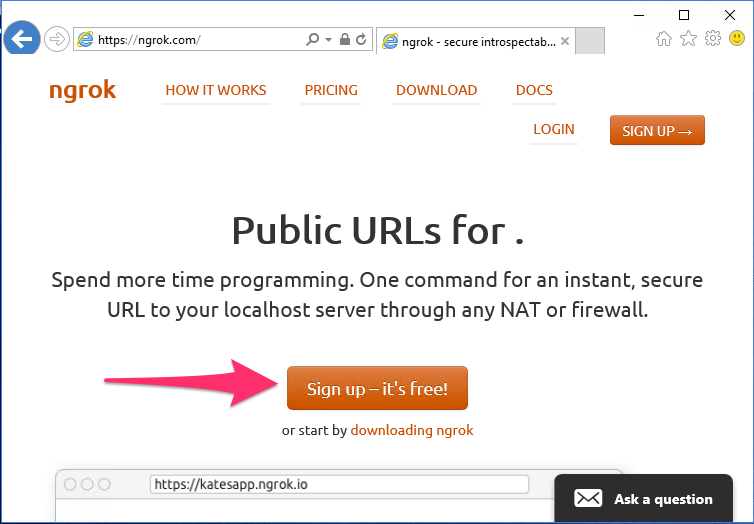
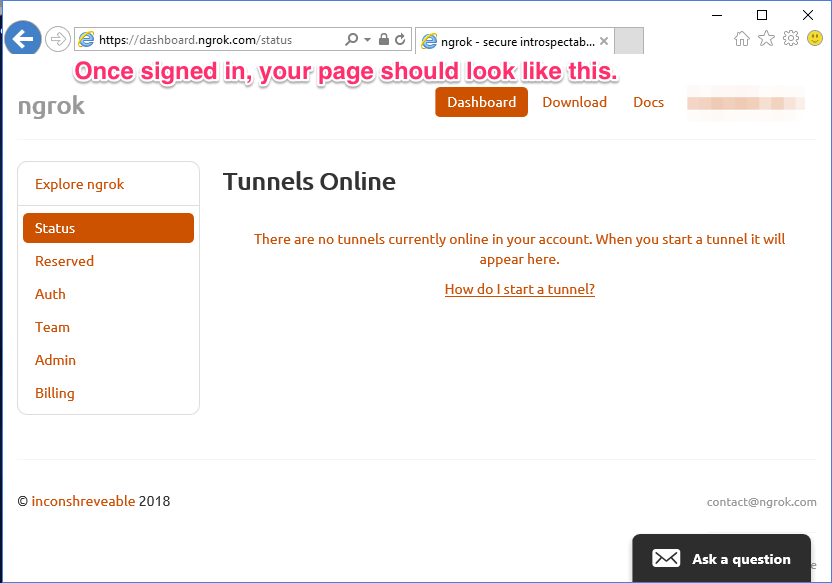
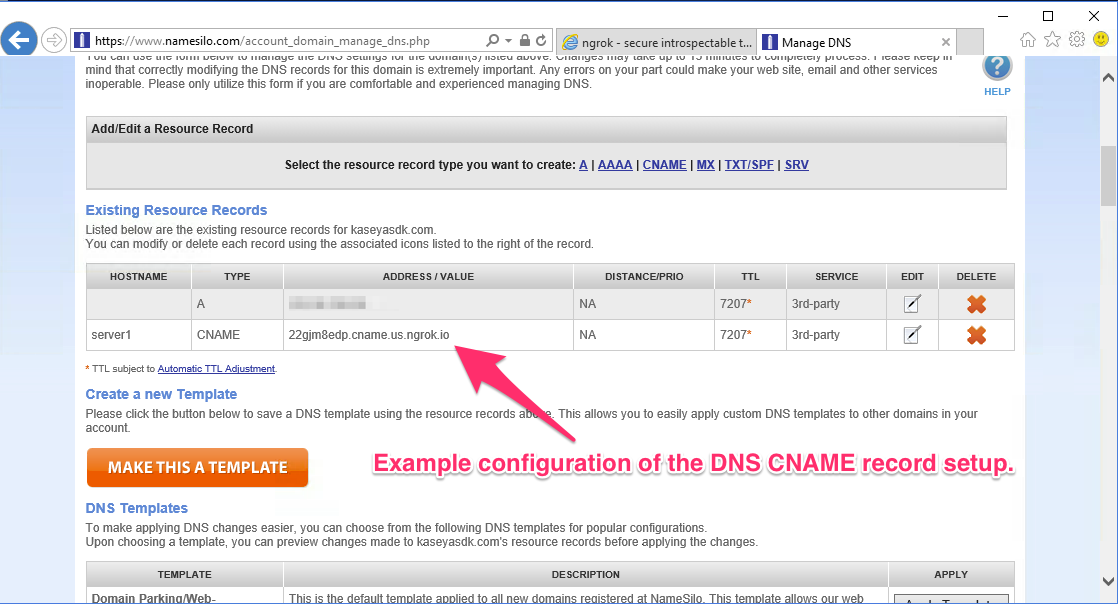
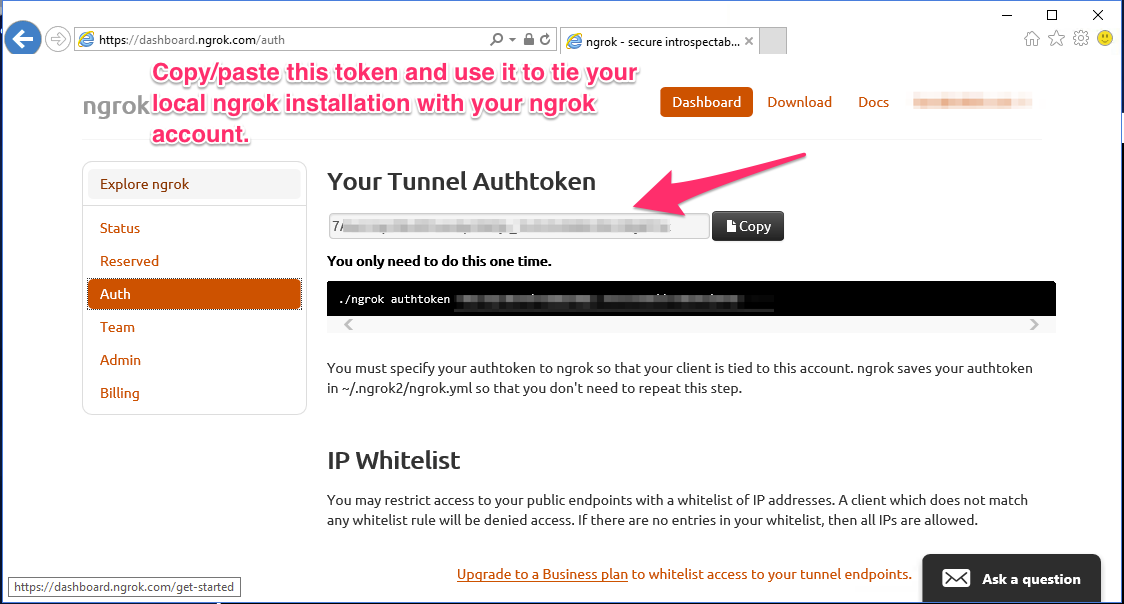
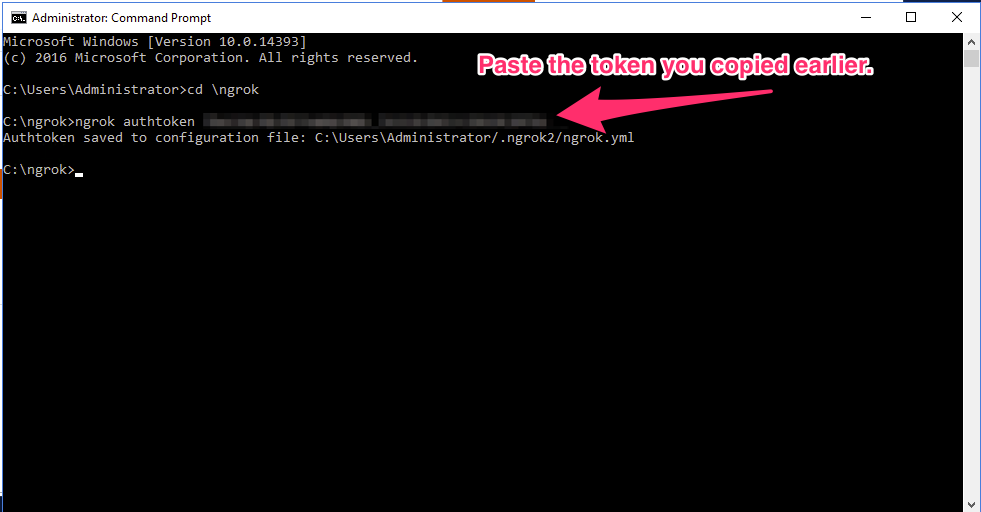
Head to www.ngrok.com and sign up. Select the “pro” plan, then head to “reserved” to setup your domain.
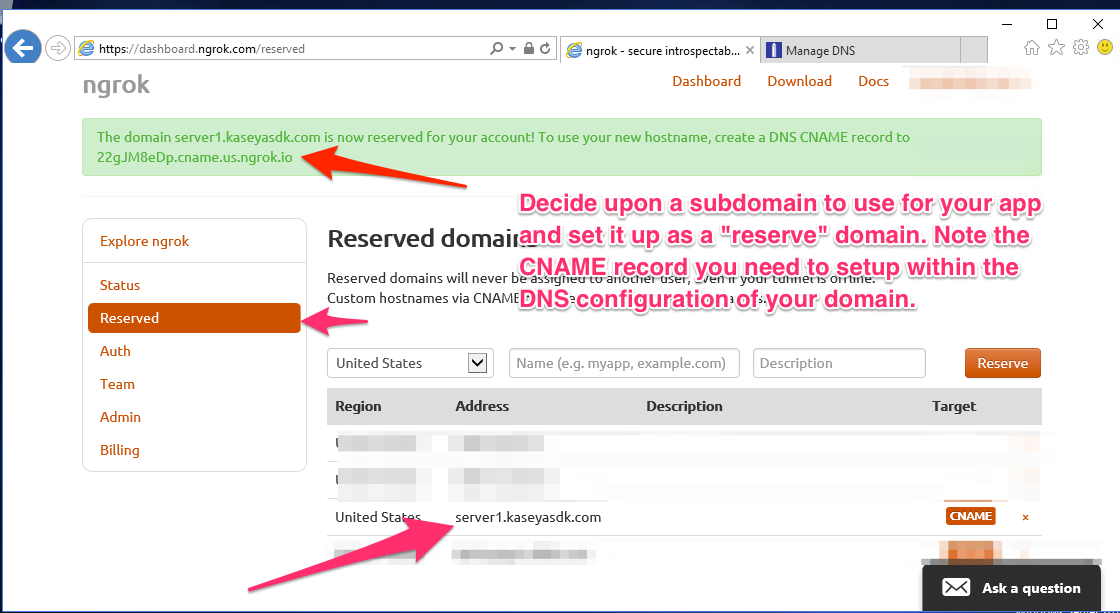
Create a record “server1.kaseyasdk.com” and click “Reserve”.
You will see instruction to create a CNAME DNS record pointing to a hostname.
Ensure you can ping server1.kaseyasdk.com and see that it resolves to the ngrok address.
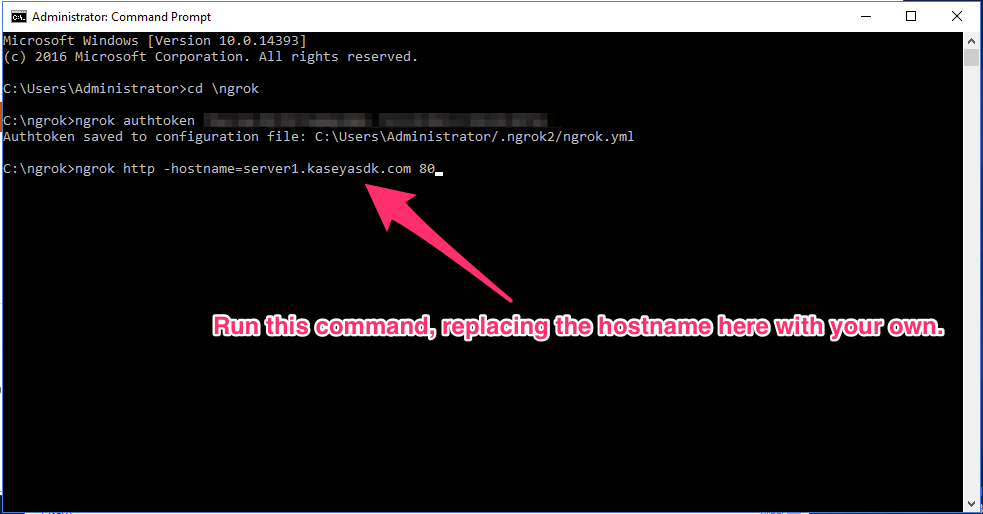
We will now start ngrok.
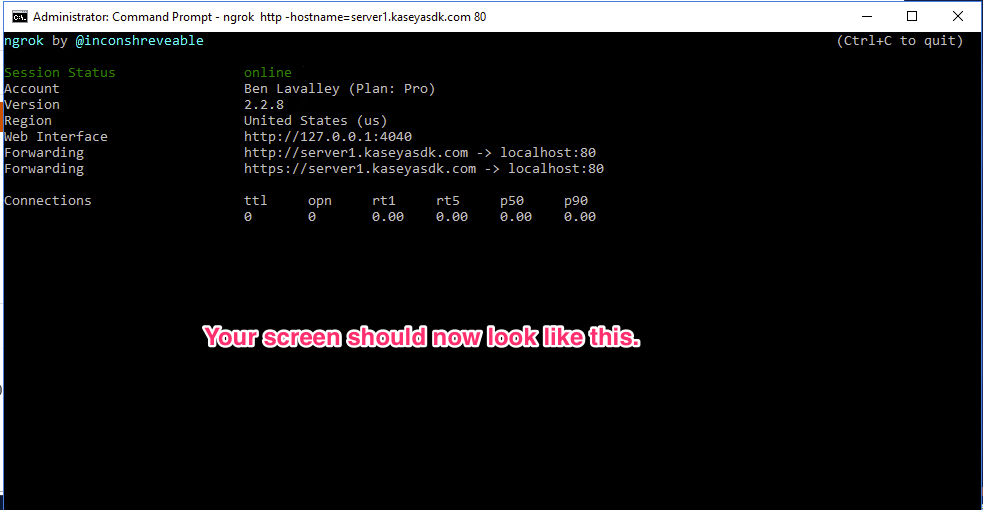
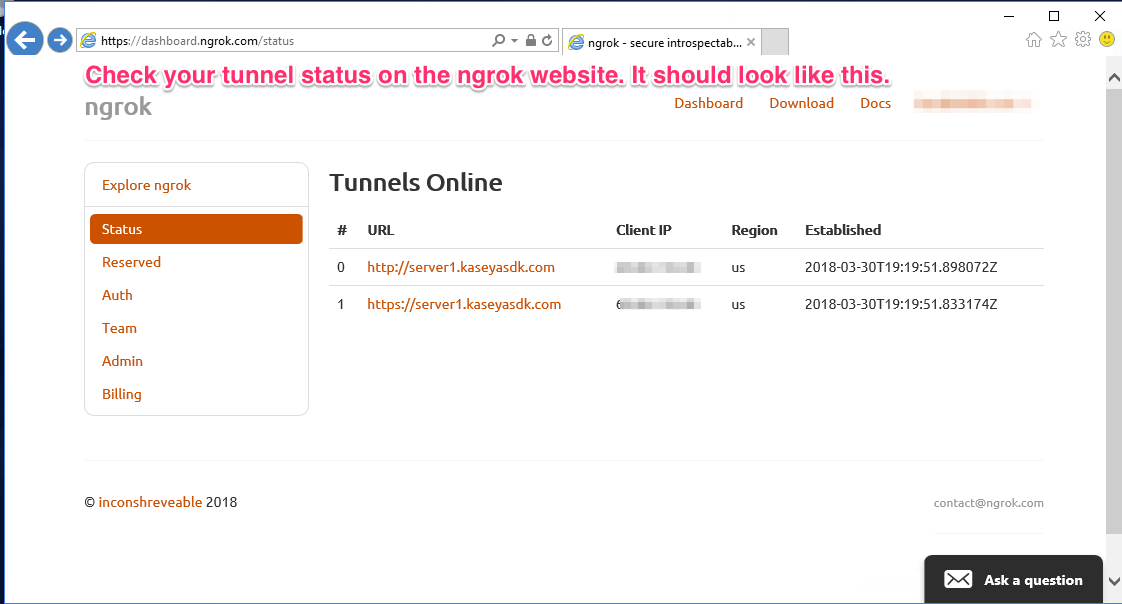
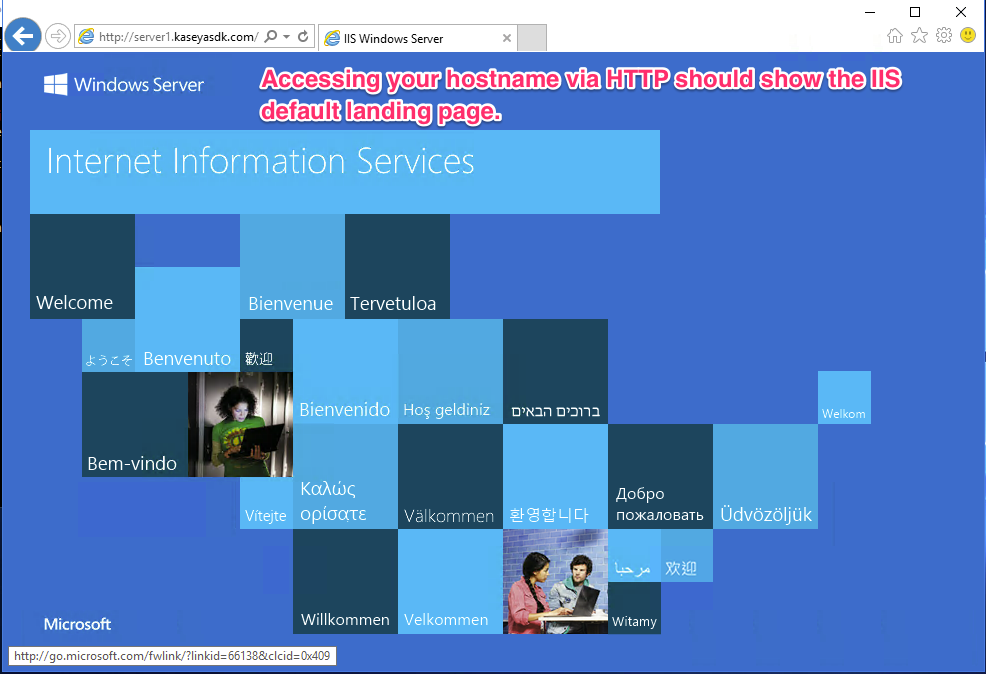
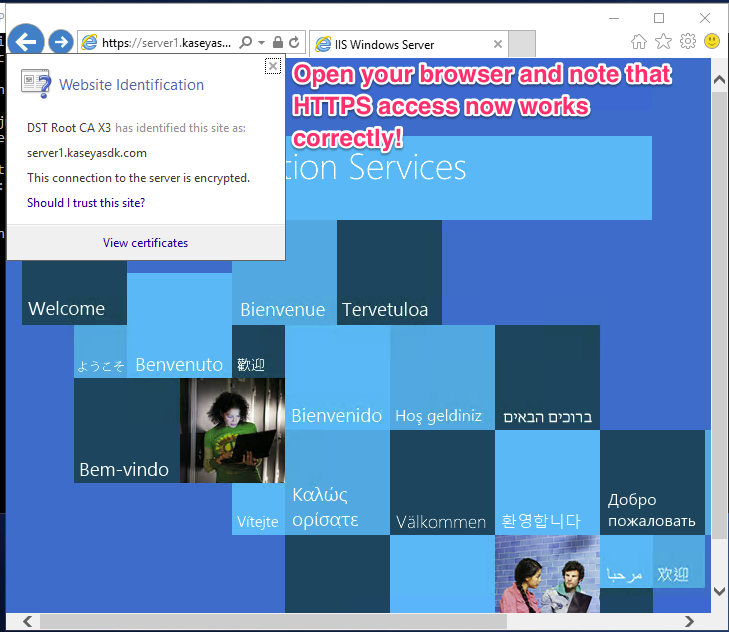
If you load the URL for http://server1.kaseyasdk.com, you should now see the default page served by IIS, now available over the internet:
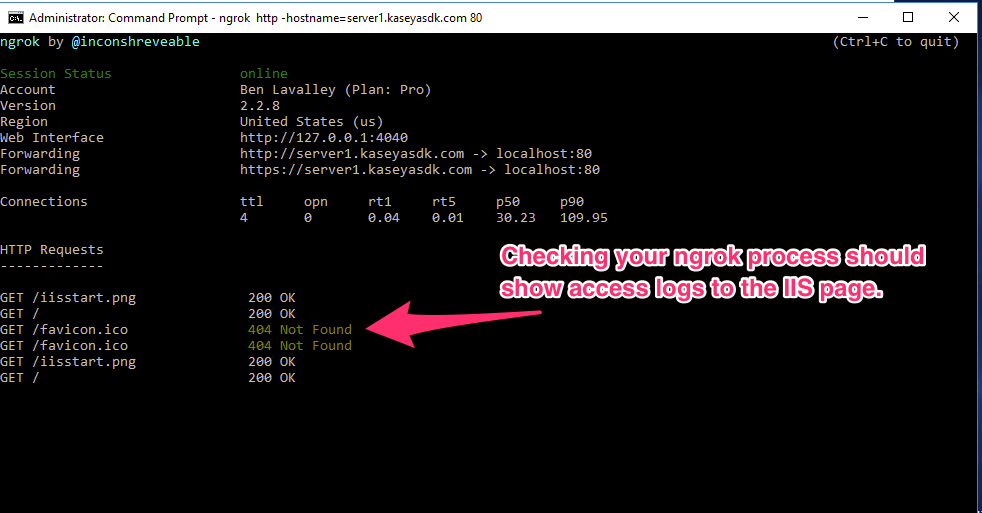
You can also see our recent HTTP requests in the ngrok status window:
Notice you can attempt HTTPS, but we have no certificate yet:
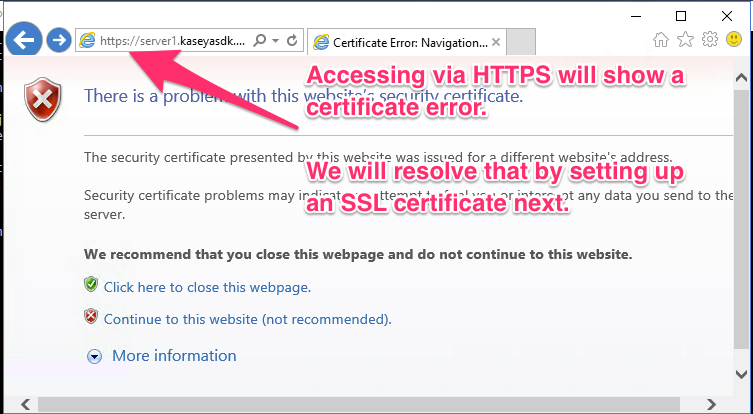
Time to get one!
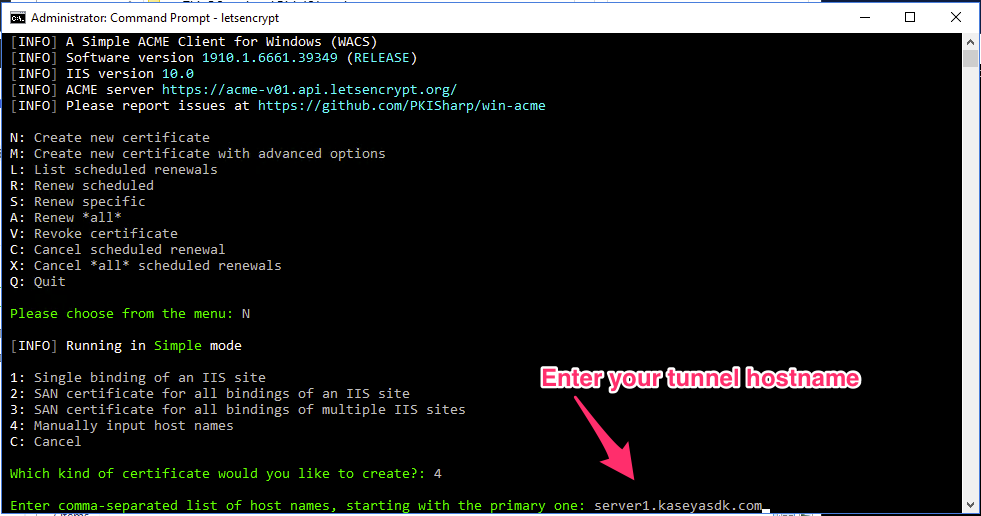
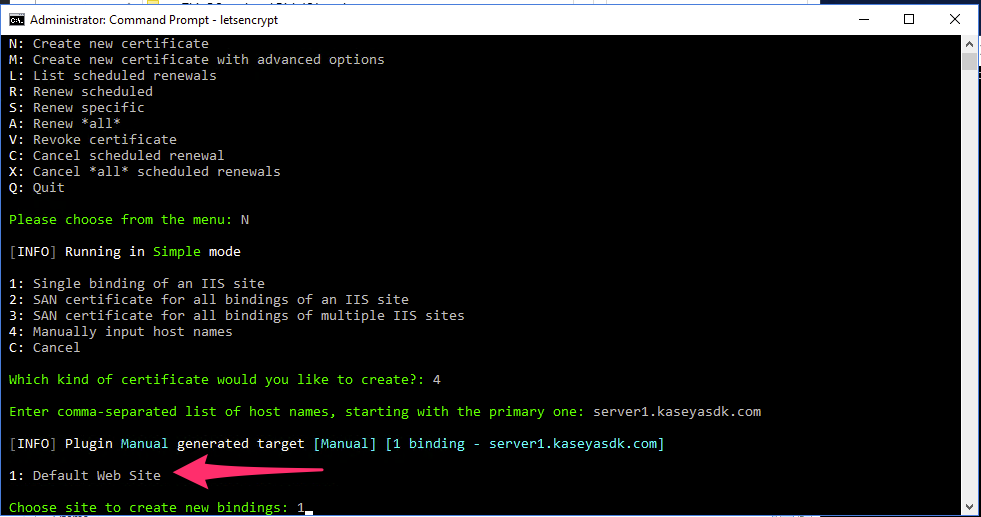
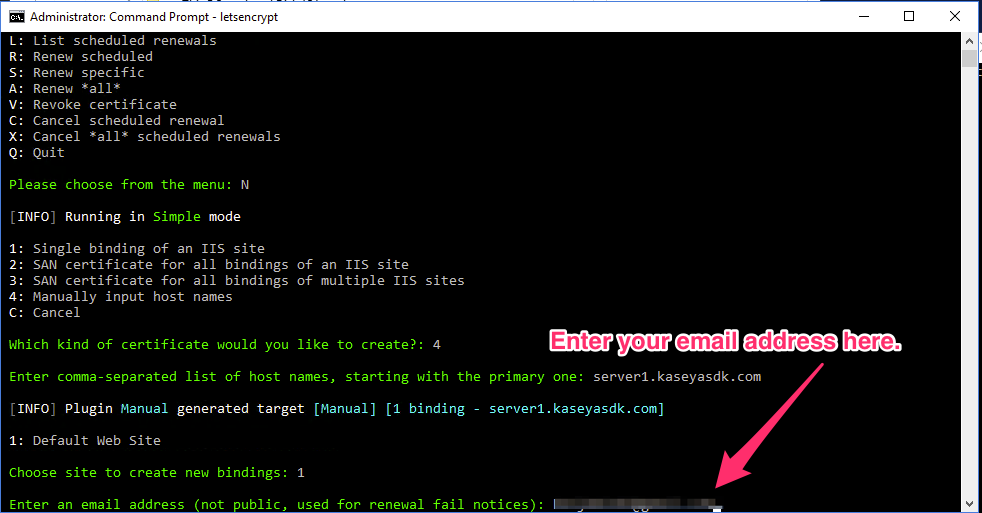
letsencrypt (SSL)
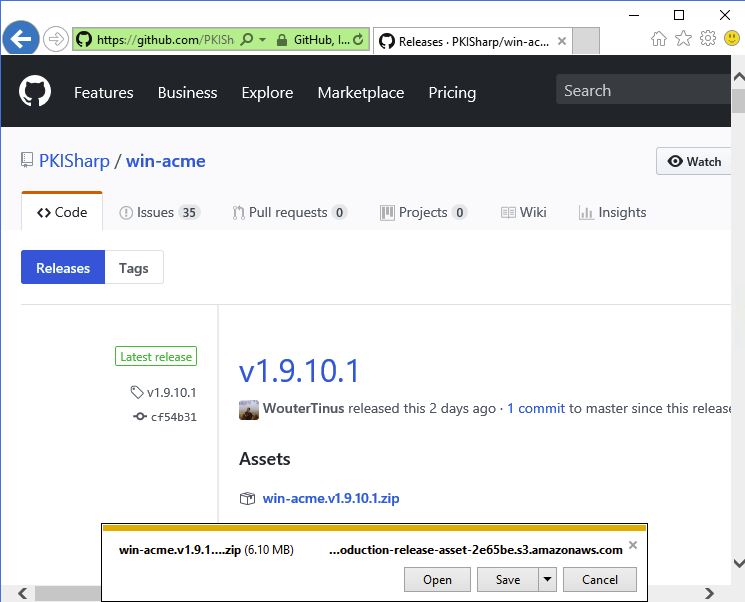
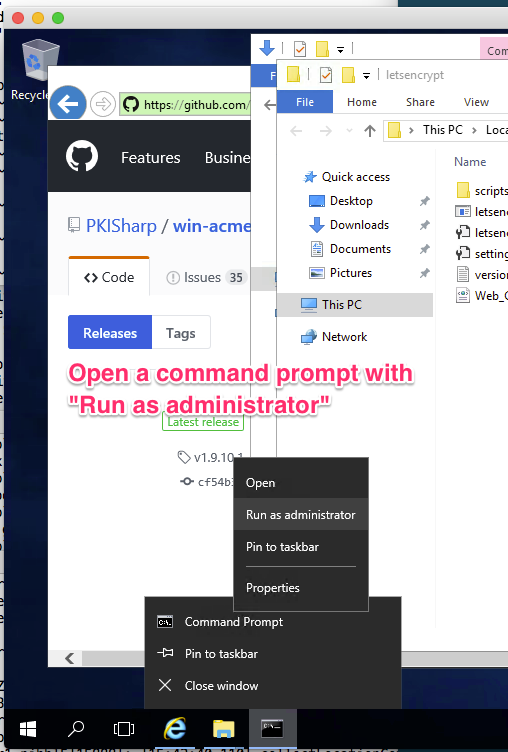
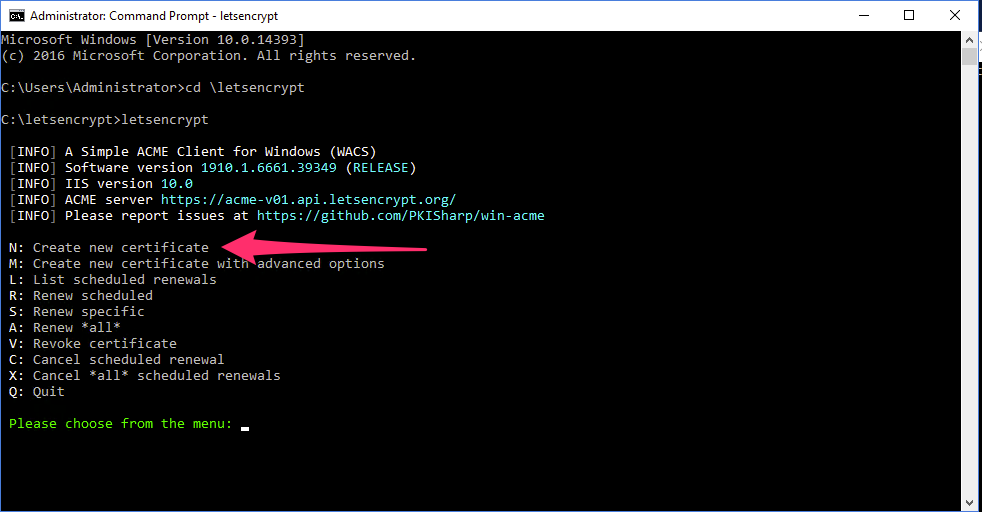
First, we’ll start with the “LetsEncrypt-Win-Simple” tool for Windows and IIS:
https://github.com/Lone-Coder/letsencrypt-win-simple/releases
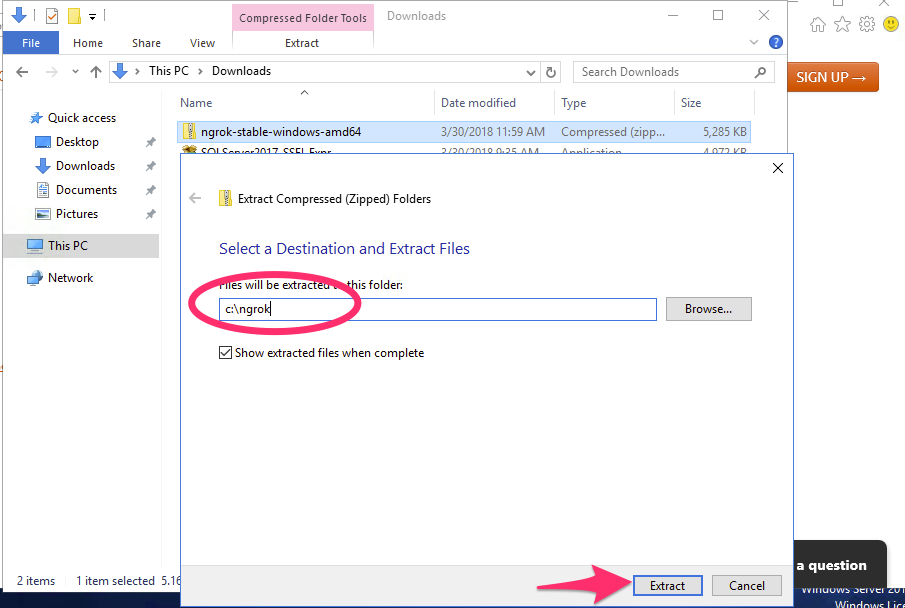
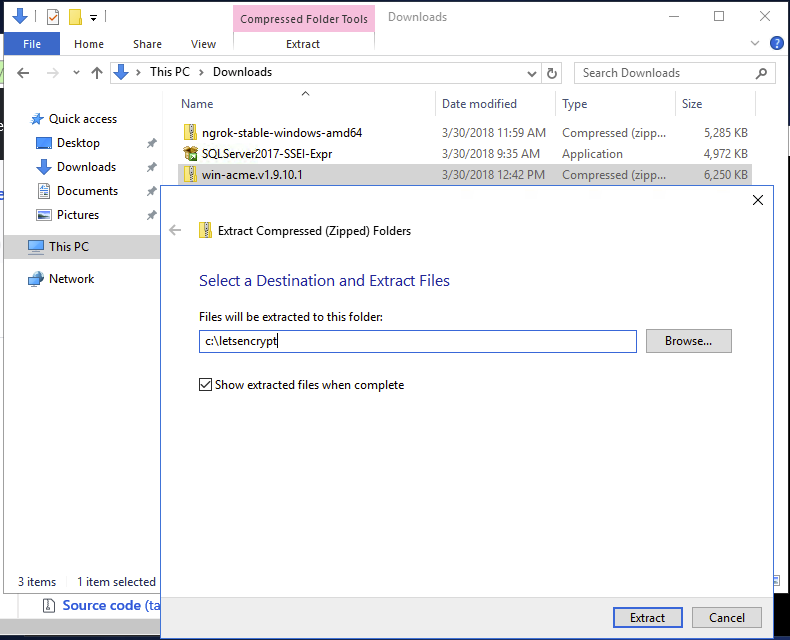
Download the zip, and extract it to c:\letsencrypt.
Previously, ngrok was attempting to terminate SSL with certificates for *.ngrok.io.
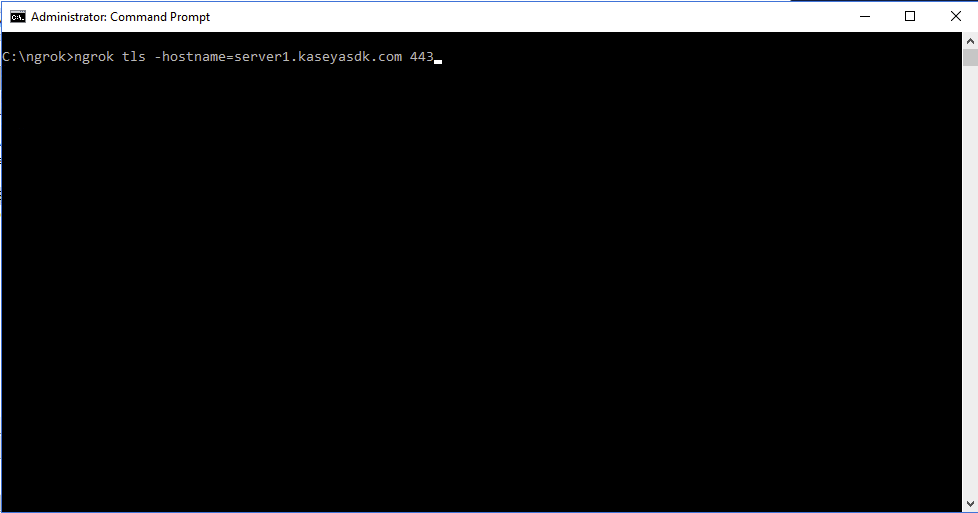
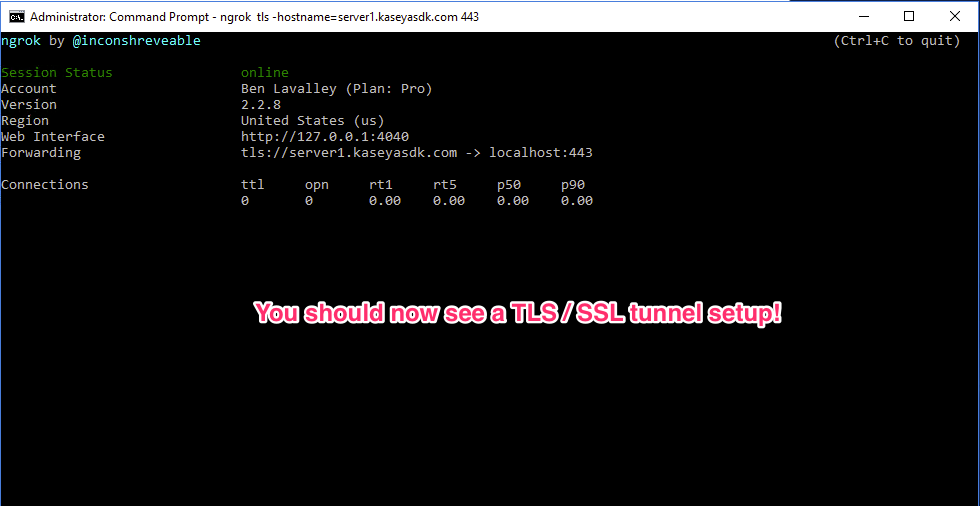
We now will re-start our ngrok tunnel, instructing ngrok to use the new certificate that was just deployed on our system.
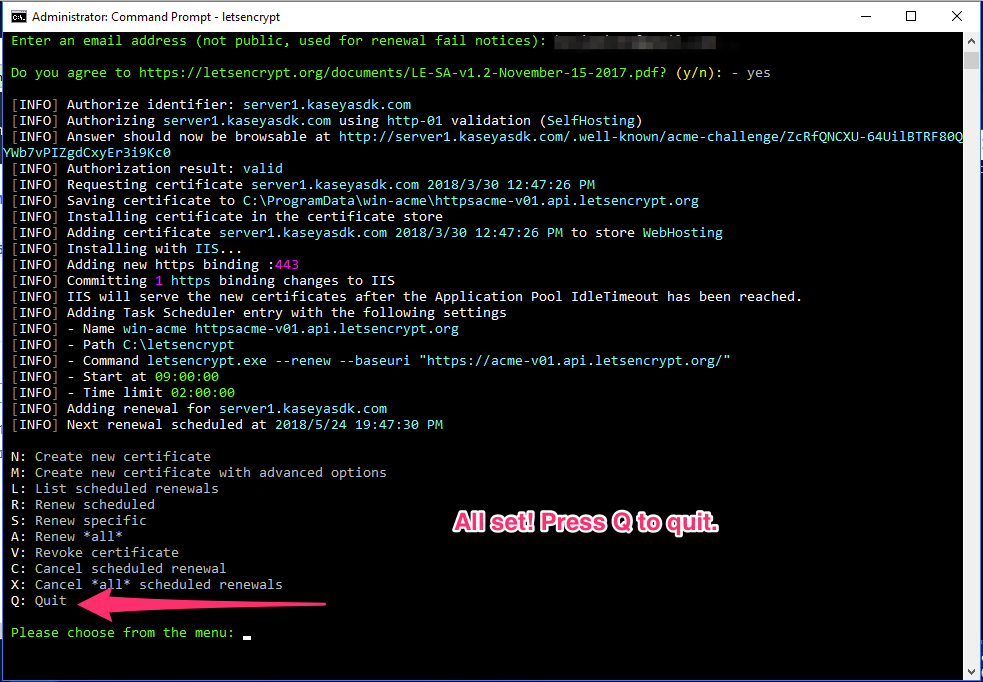
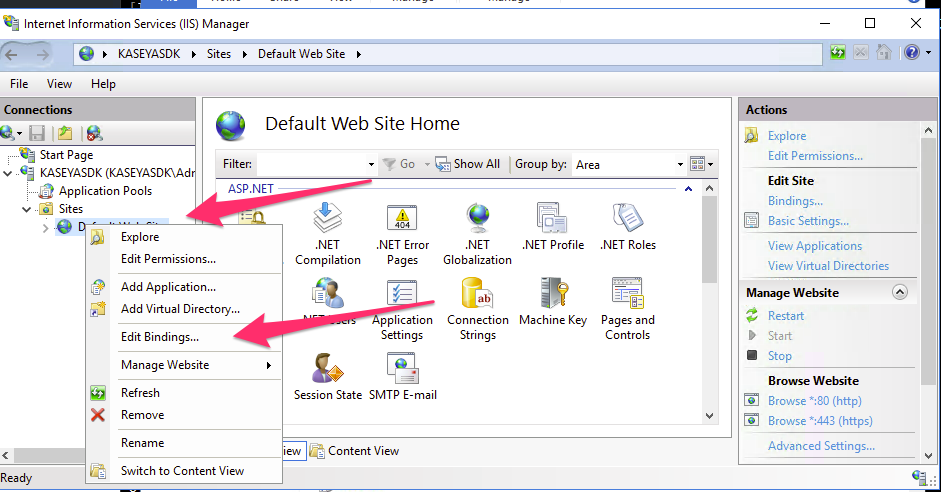
We will now configure IIS to use our new certificate.
Now, go to your command shell and terminate your existing ngrok tunnel (CTRL-C).
Execute ngrok again with this command:

Your next step will be to download and setup the sample TAP application!